


Crafting a cufflink bracelet is both a stylish and personalized way to accessorize. This guide offers a simple and comprehensive overview of the tools and supplies needed for this project, along with step-by-step instructions on how to make a cufflink bracelet. You can also add a personal touch to your creation using our customization tips. So, without further ado, let's get started!
The following tools and materials are essential to make a cufflink bracelet:
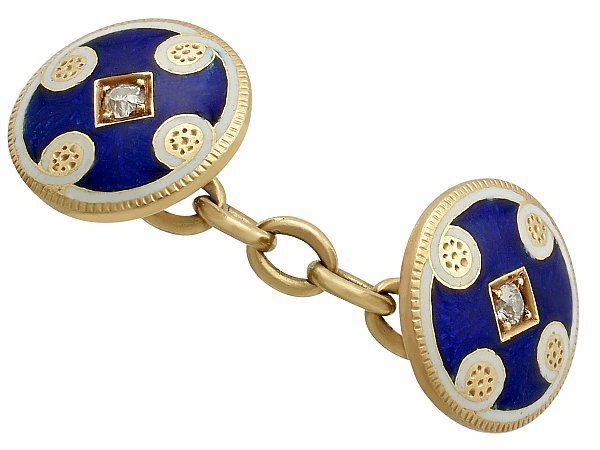
When gathering your tools and supplies for crafting a unique cufflink bracelet, consider the pivotal role of quality cufflinks in your creation. The cuffsecret 3D Cut Fleur-de-Lis Cufflinks offer an excellent choice for this endeavor. This exquisite set features a pair of 3D stainless steel cufflinks, boasting a distinct design to complement your personal aesthetic. Renowned for their durability, these cufflinks resist tarnish, scratches, and corrosion, ensuring your bracelet remains pristine over time.
Here are two ways on how to make a bracelet out of cufflinks:
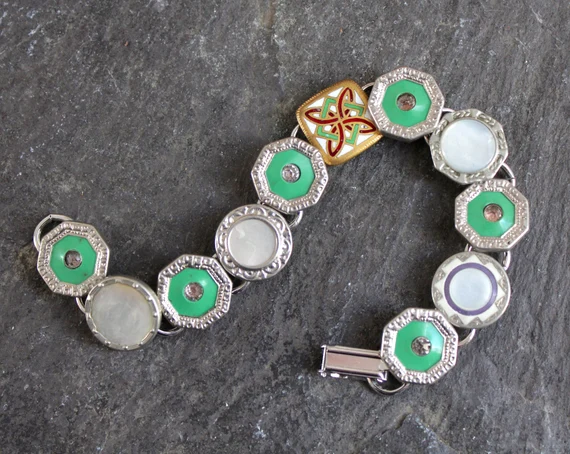
Method #1: Using Chain-Style Cuff Links
Step 1: Gather Cuff Links:
Select enough chain-style cuff links to reach around your wrist when connected. Consider mixing different designs for an eclectic look or using similar ones for a cohesive style.
Step 2: Detach Cuff Link Faces:
Use your pliers to carefully detach the faces of the cuff links from the chains. Depending on the design, you might be able to simply open a link, or you may need to cut it.
Step 3: Plan Your Design:
Lay out the cuff link faces and any additional chains on your work surface. Arrange them in the order you'd like them to appear on your bracelet.
Step 4: Connect Cuff Link Chains:
Using the existing chains from the cuff links, start connecting the faces together. If the original chains are too short or if you're adding extra length with a decorative chain, use jump rings to connect the pieces. Open a jump ring with your pliers, thread it through the last link of one chain and the first link of the next, then close it securely.
Step 5: Adding Length (Optional):
If your bracelet needs additional length beyond what the cuff link chains provide, attach sections of your decorative chain using jump rings.
Step 6: Attach the Clasp:
Once you have the desired length, attach a jump ring to one end of the bracelet and the clasp to the other. Ensure the clasp mechanism is facing outwards for ease of use.
Step 7: Final Adjustments:
Lay your bracelet out flat to check the arrangement and make any necessary adjustments. Ensure all connections are secure.
Method #2: Using Swivel-Style Cuff Links
Step 1: Prepare the Cord
Measure and cut the cord to the suited length for your bracelet. Smooth ends with sandpaper if necessary.
Step 2: Secure Cord Ends to Clasp
Apply a dab of epoxy to the tip of the cord and slide it into a cord cap-end clasp. Allow it to dry thoroughly, ensuring a firm attachment.
Step 3: Arrange Cuff Links
Position the cuff links along the cord on a flat surface, maintaining the pattern and spacing you desire.
Step 4: Attach Cuff Links to Cord
Open the swivel bar of the cufflink and slide it onto the cord. Apply a small dab of epoxy to firmly attach the cufflink to the cord. Repeat this step for each piece.
Step 5: Finalize the Clasp
Mirror Step 2 on the opposite end of the cord to complete the clasp setup. Your swivel-style cufflink bracelet is complete.
Creating a cufflink bracelet is not just about fashion; it's about making a statement that reflects your personal style. Here are some ideas to customize your cufflink bracelet for that extra personal flair:
1. Choose Theme-Based Cufflinks: Focus on a theme that reflects your interests, such as vintage, sports, or music cufflinks, to give your bracelet a story or personal connection.
2. Incorporate Colorful Beads: Adding beads between cufflinks introduces color and texture, transforming the bracelet into a statement piece adaptable to different outfits.
3. Diversified the Materials: Rather than using traditional metal chains or cords, explore materials like leather, silk, or even paracord for an alternative look and feel.
4. Mix and Match Different Styles: Combine chain-style and swivel-style cufflinks in one bracelet for a unique design. This eclectic approach adds visual interest and variety.
5. Personalized Charms: Intersperse charms that represent personal milestones or interests to make your bracelet a wearable collection of memories.
6. Engraving: If the surface allows, engraving initials, dates, or short messages on the cufflinks adds a layer of personalization and sentimentality.
7. Adjustable Closure: Consider adding a sliding knot or adjustable clasp to make your bracelet more versatile and easy to wear for various wrist sizes. (Find more sliding knot bead bracelets.)
Indeed, mastering how to make a cufflink bracelet is a fun and rewarding experience that allows you to showcase your personal style. With the right tools, knowledge, and techniques, anyone can turn a simple pair of cufflinks into a stunning piece of jewelry. Taking what you have learned in this guide into practice is the perfect starting point for anyone looking to explore custom jewelry and make their own unique cufflink bracelet. So why wait? Start your crafting journey today and unleash your creativity!
Here are some commonly asked questions on how to make a cufflink bracelet.
Cufflinks can be an intimate gift, especially when personalized or chosen with the recipient's style in mind. They show thoughtfulness and attention to detail, making them a meaningful and cherished present.
Cufflink jewelry is a decorative accessory used to secure the cuffs of dress shirts. Typically made from materials like metal, glass, or enamel, cufflinks add a touch of elegance and personal style to formal attire, replacing traditional buttons.
A cufflink bracelet features links similar to cufflinks, often with decorative or personalized designs. A cuff bracelet is a solid, open-ended piece that wraps around the wrist, offering a bold and structured look. Both add style, but their designs and structures differ significantly.
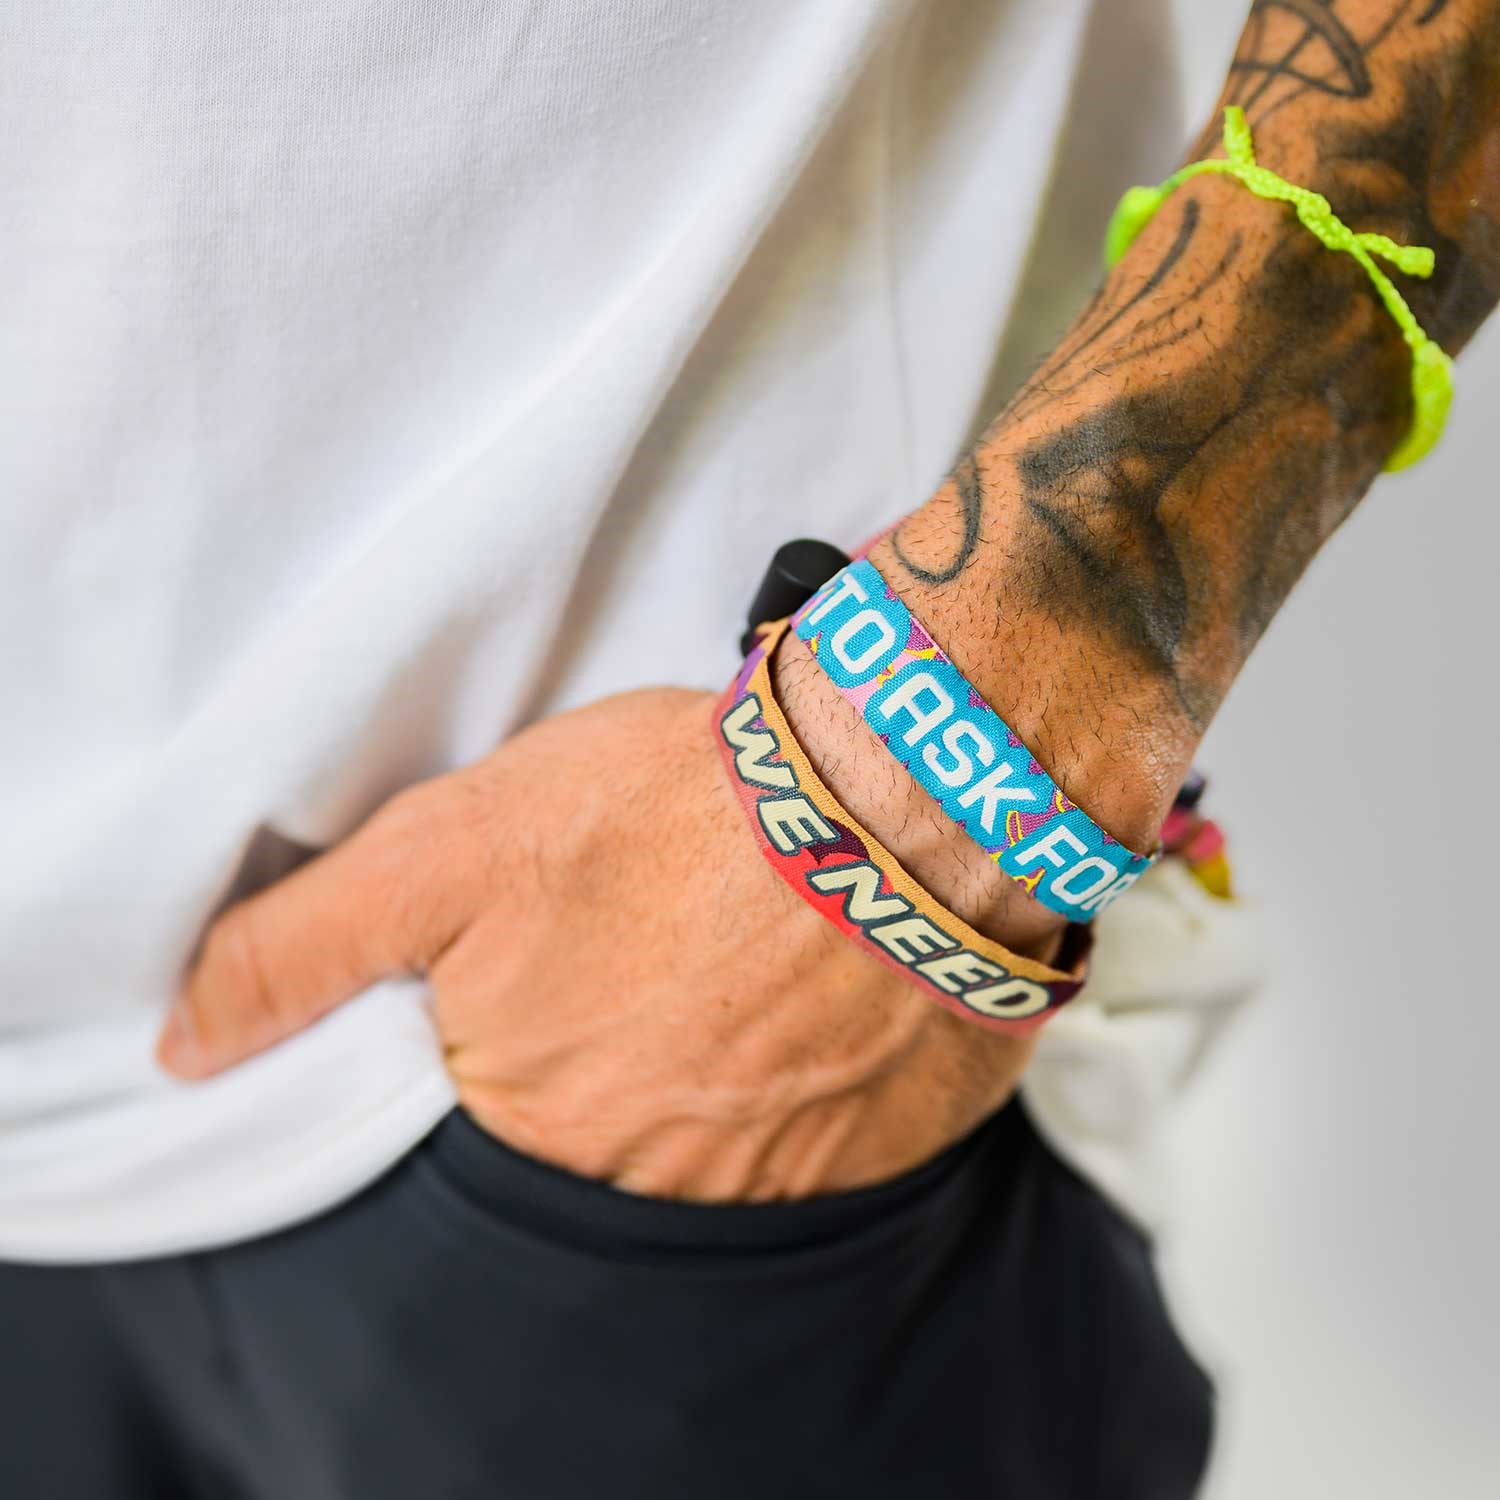
Get quick tips on how to remove festival bracelet without damage! Understand different types & locking methods for easy, hassle-free removal.
Read More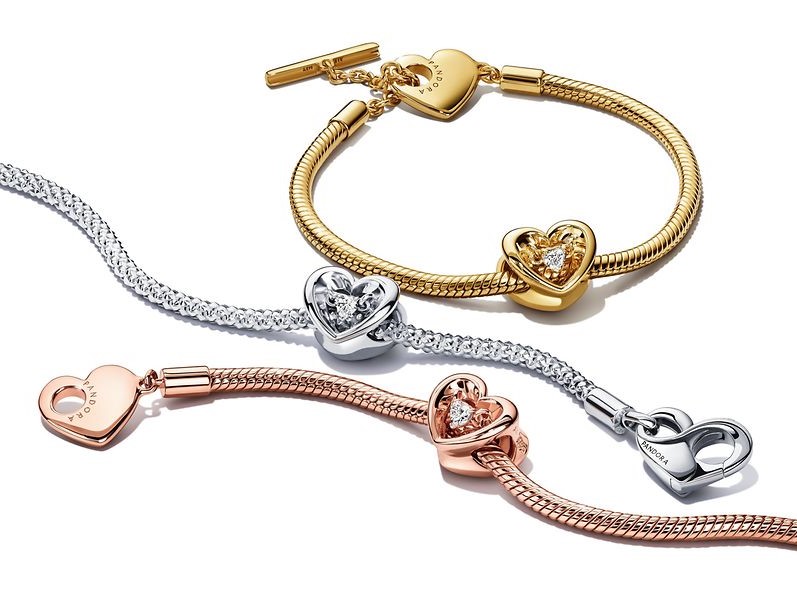
Get a step-by-step guide on how to measure pandora bracelet! Learn new tips, measure with ease and add charms with confidence for a snug, comfy fit.
Read More
Master how to resize a bracelet with our guide on measuring your wrist, understanding when to adjust, and tips for different bracelet types.
Read More
Find out how much is a 14k gold bracelet worth, including market values and factors affecting its price, helping you decide the best time to buy.
Read More