


Are you interested in various bead loom bracelet patterns? Ever wondered how to create stunning bead loom bracelets? In this beginner's guide, we'll explore the fundamentals of beaded loom bracelets patterns. You will learn about the essential materials needed, and step-by-step instructions to craft your very own bead loom bracelet. This blog aims to empower you to unleash your imagination and craft stunning jewelry pieces that reflect your unique style.
Loom bead bracelet patterns offer various designs from traditional motifs to contemporary abstract creations. Generally, they are inspired by cultural motifs including tribal symbols, Celtic knots, and Asian-inspired designs. One common type is the geometric pattern, characterized by repeated shapes like diamonds, triangles, or squares. Floral patterns are another popular category, featuring intricate arrangements of flowers, leaves, and vines. And then animals are frequently depicted in bead loom patterns, capturing the spirit of various creatures such as birds, butterflies, and even mythical beasts. These loom beaded bracelets patterns often provide a way for artisans to connect with their heritage through their craft. Here are some popular varieties:
1.Chevron Pattern
Feature: Zigzagging lines create a dynamic visual effect through contrasting colors.
Technique: Requires weaving beads back and forth in a zigzag motion across the loom.
![]()
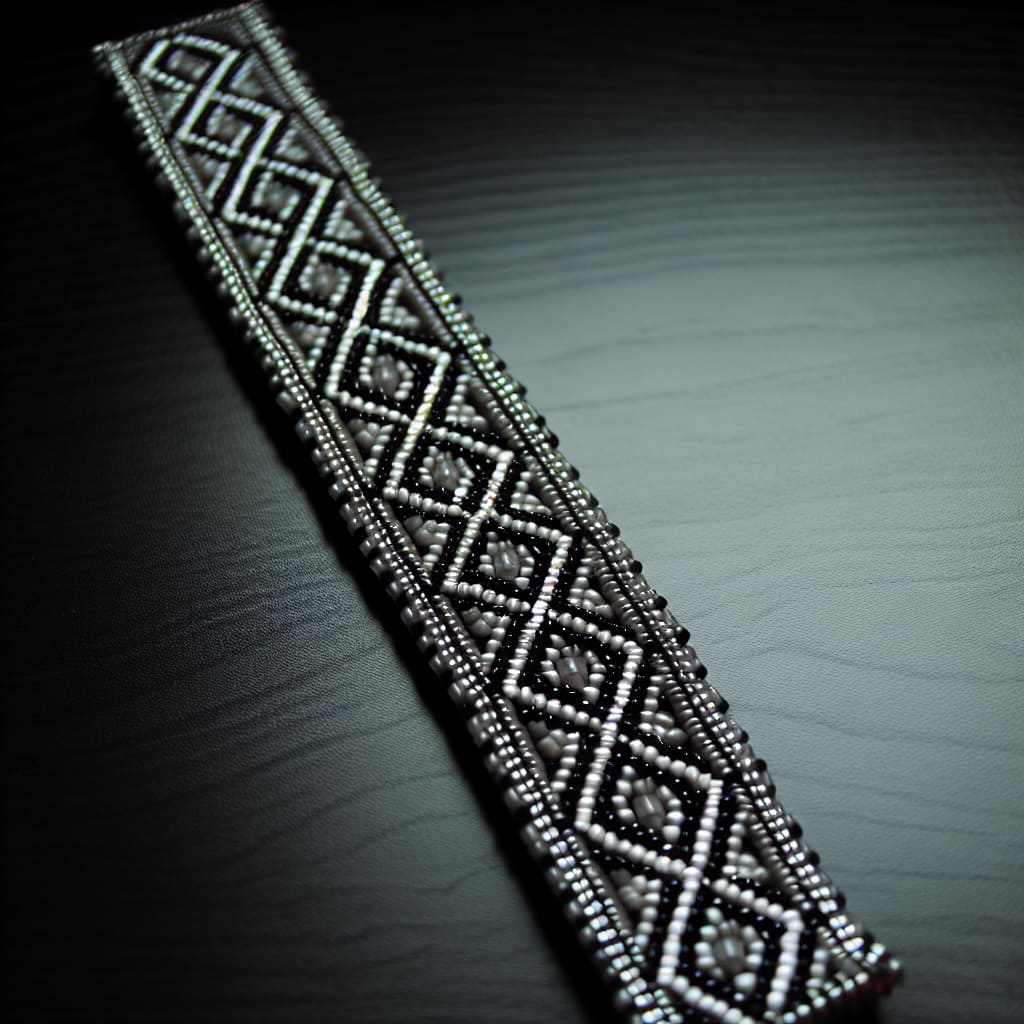
2.Diamond Pattern
Features: Form diamond shapes and symmetrical design across the loom, often achieved by alternating colors.
Technique: Involves weaving beads in a manner that forms diamond shapes as the pattern progresses.
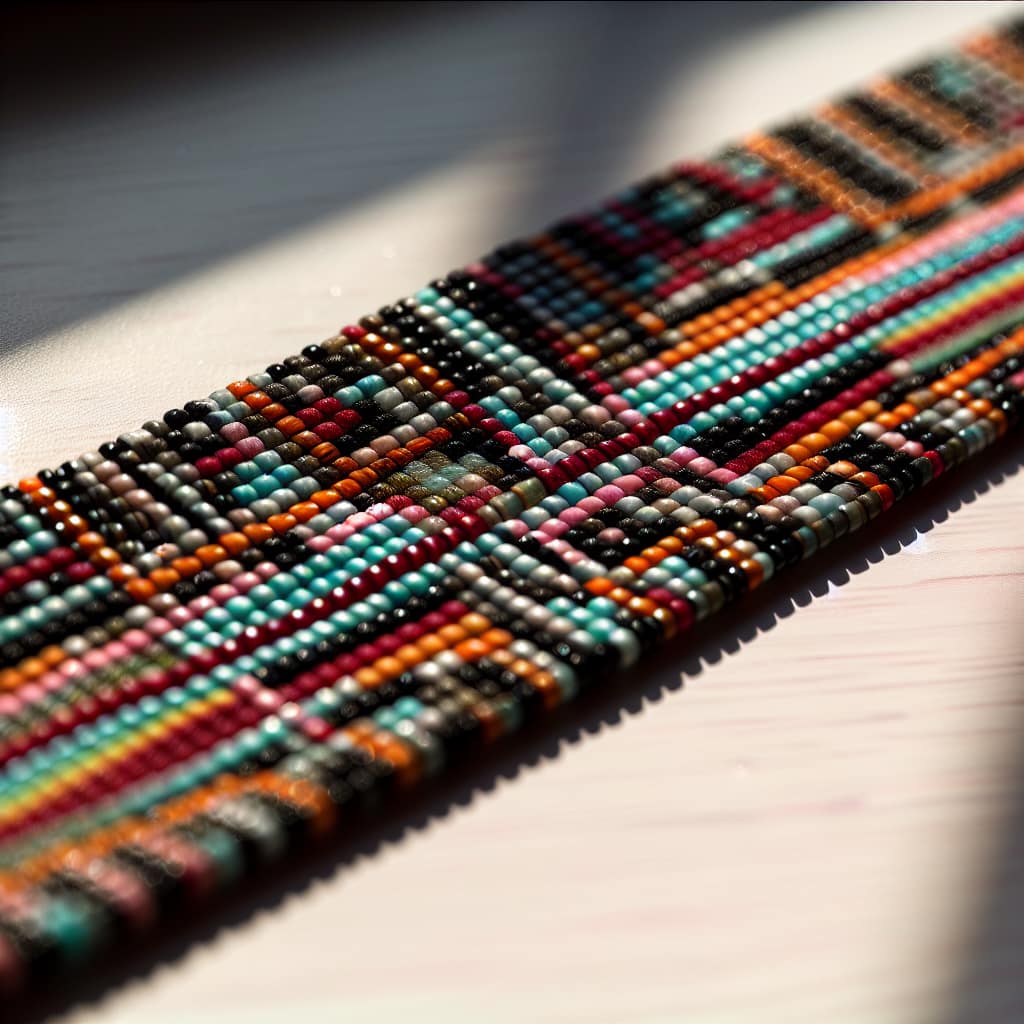
3.Striped Pattern
Features: Horizontal lines of alternating colors, with each stripe adding depth and texture.
Technique: Requires weaving beads in straight horizontal rows, changing colors as desired for the stripes.
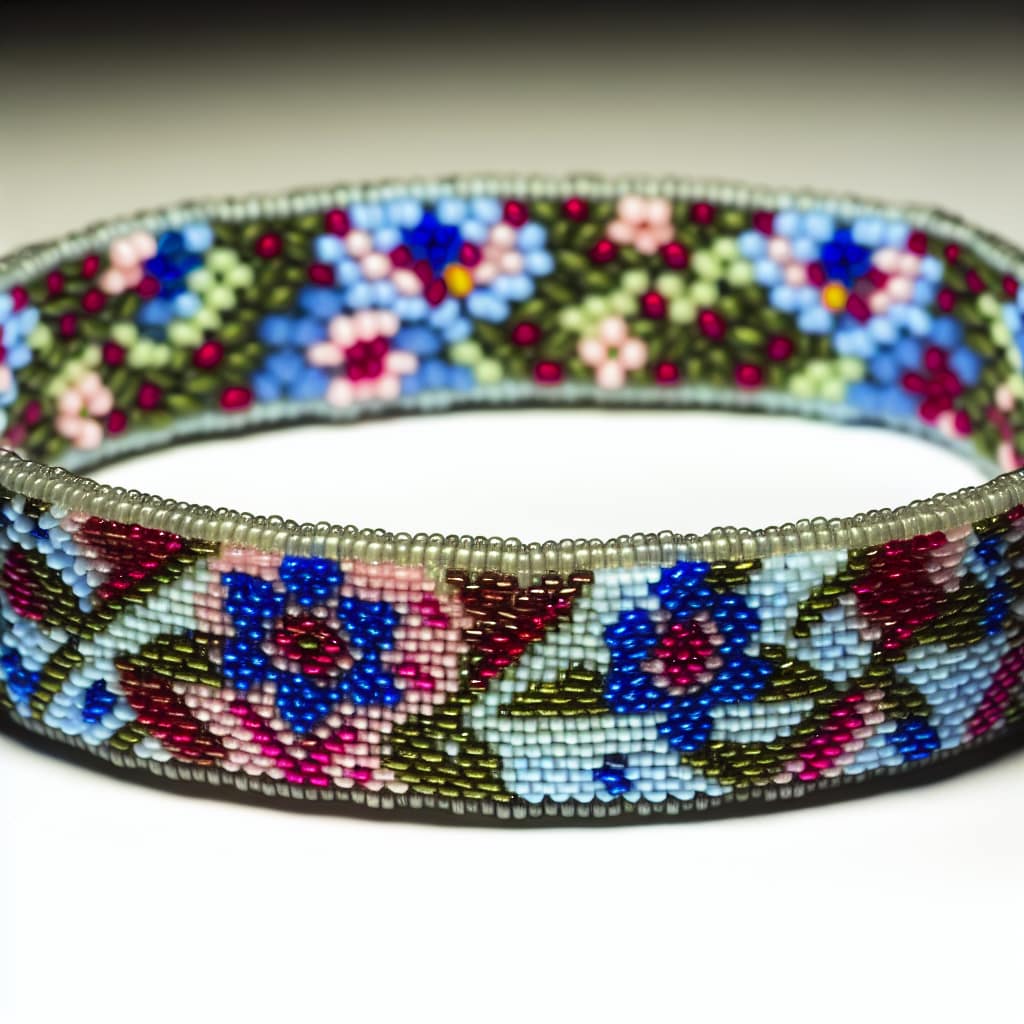
4.Floral Pattern
Features: Incorporates flower motifs, vines, and other botanical elements for a delicate appearance.
Technique: Involves creating flower shapes and vine-like patterns by carefully placing beads on the loom.
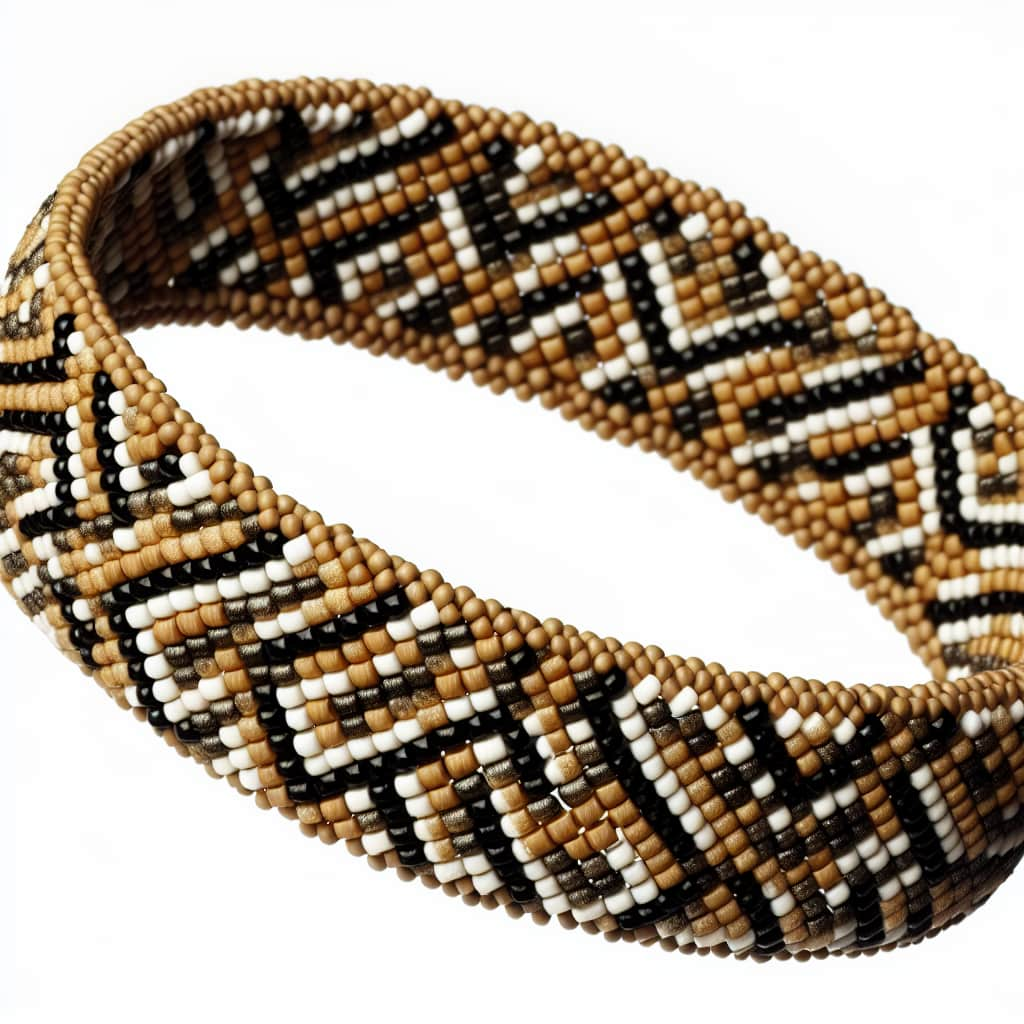
5.Tribal Pattern
Features: Bold geometric shapes and intricate arrangements, often with repeating motifs.
Technique: Requires precise placement of beads to form the geometric beaded loom bracelet patterns characteristic of tribal art.
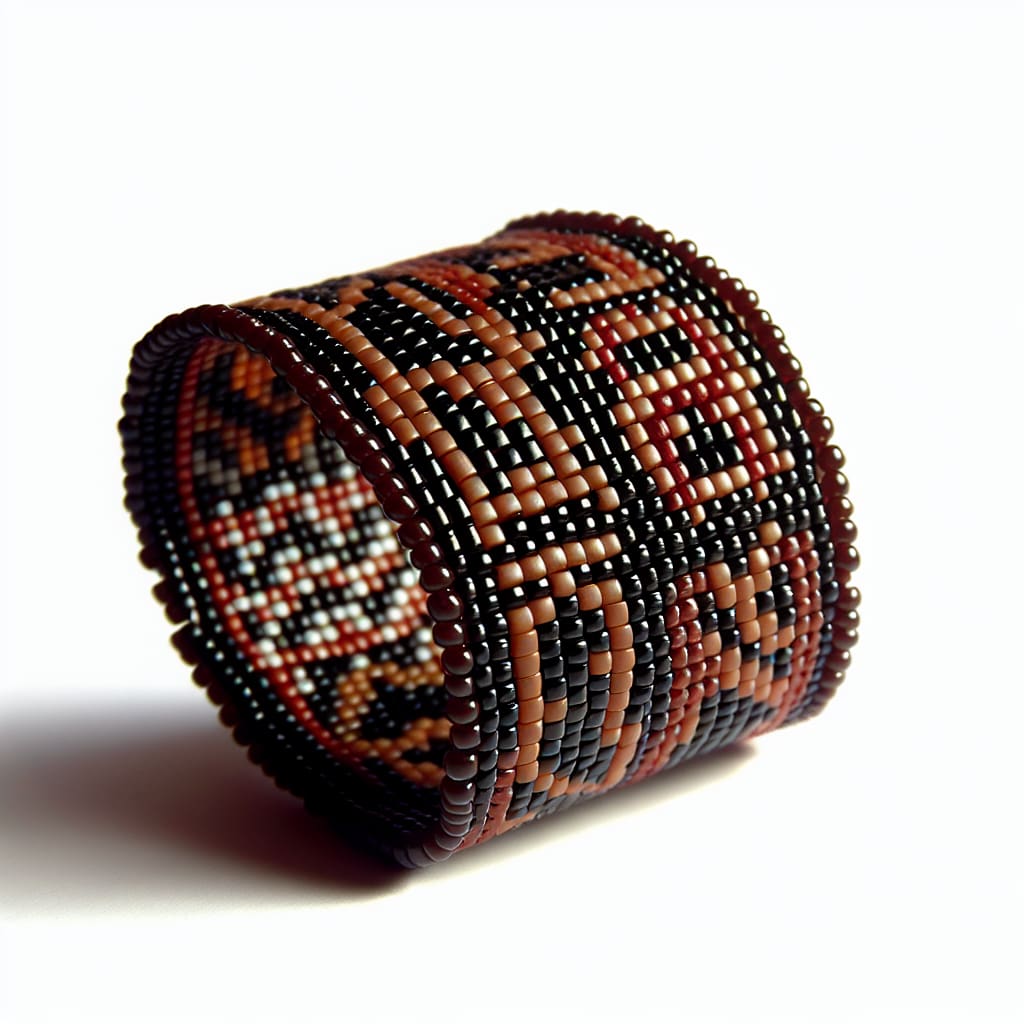
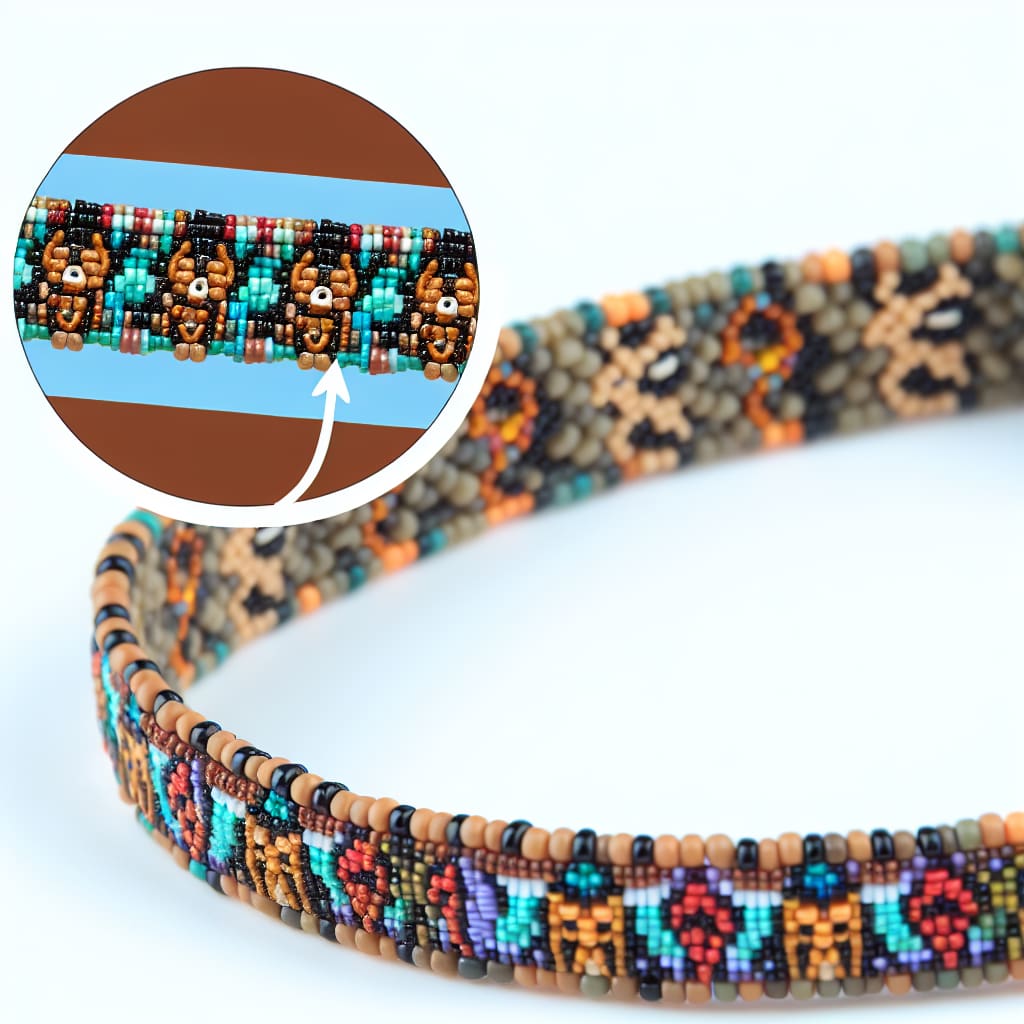
6.Animal Print Pattern
Features: Mimics the patterns found in animal skins, such as leopard spots or zebra stripes.
Technique: Involves carefully arranging beads to replicate the distinctive markings of various animals.
7.Abstract Pattern
Features: Unconventional and avant-garde designs that play with shapes, lines, and colors.
Technique: Allows for improvisation as no strict rules for abstract bead loom bracelet designs.

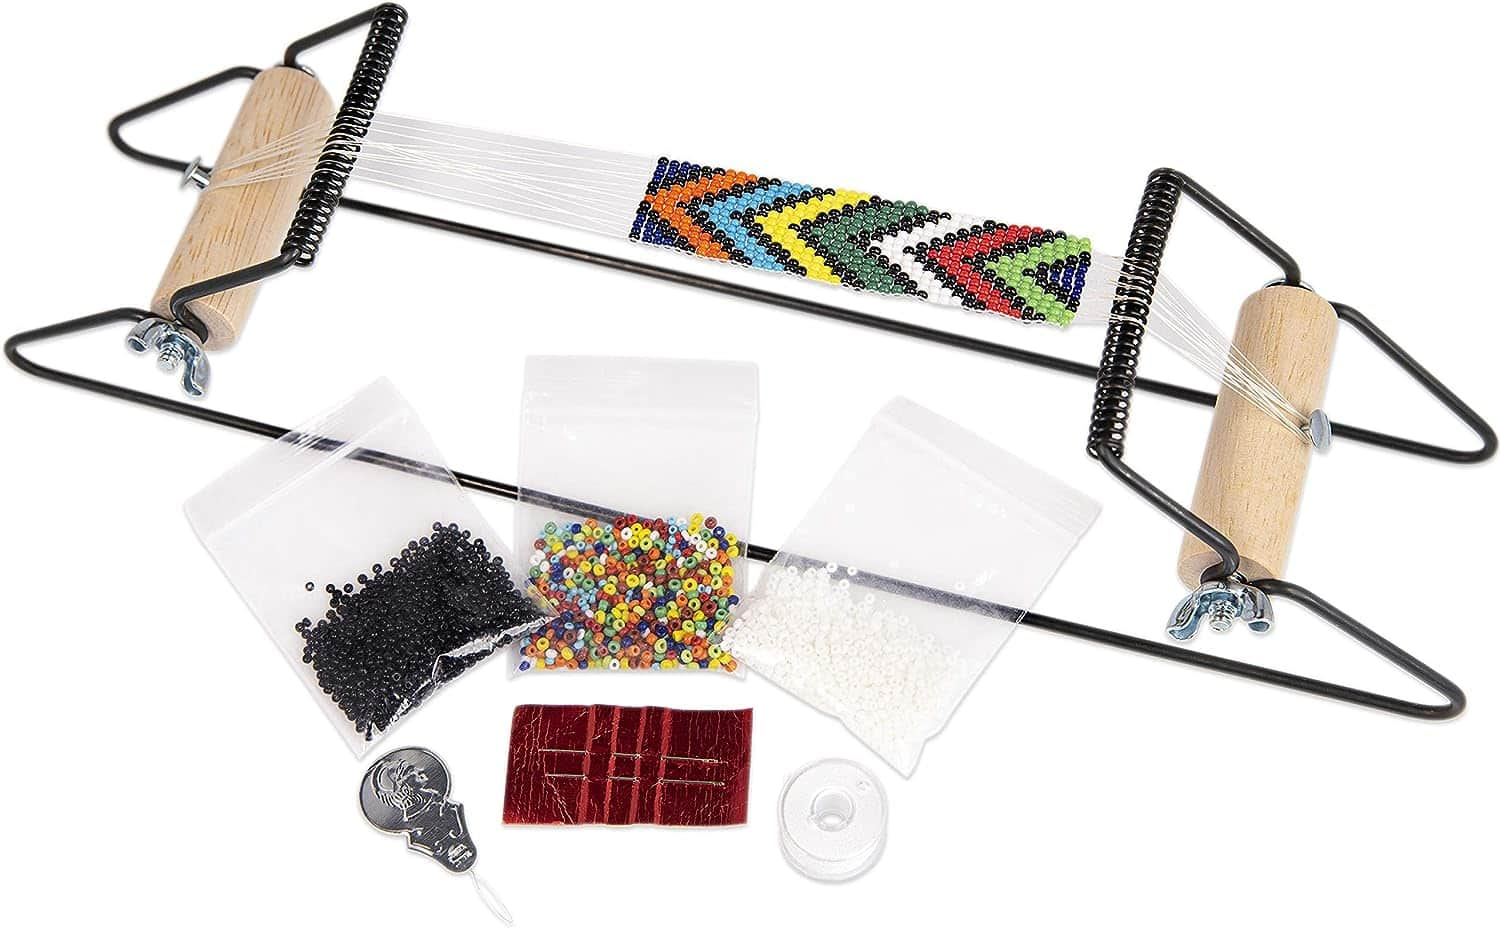
Before you get started, you need to gather a few materials for the creation. Here are the materials needed:
Are you ready to start your bead loom bracelet making? If you're a novice unsure of which beading loom patterns for bracelets to choose from, the chevron pattern is recommended for its simplicity and striking appearance. Let's grab your bead loom bracelet ideas and follow the step-by-step instructions to craft your stunning bracelet.
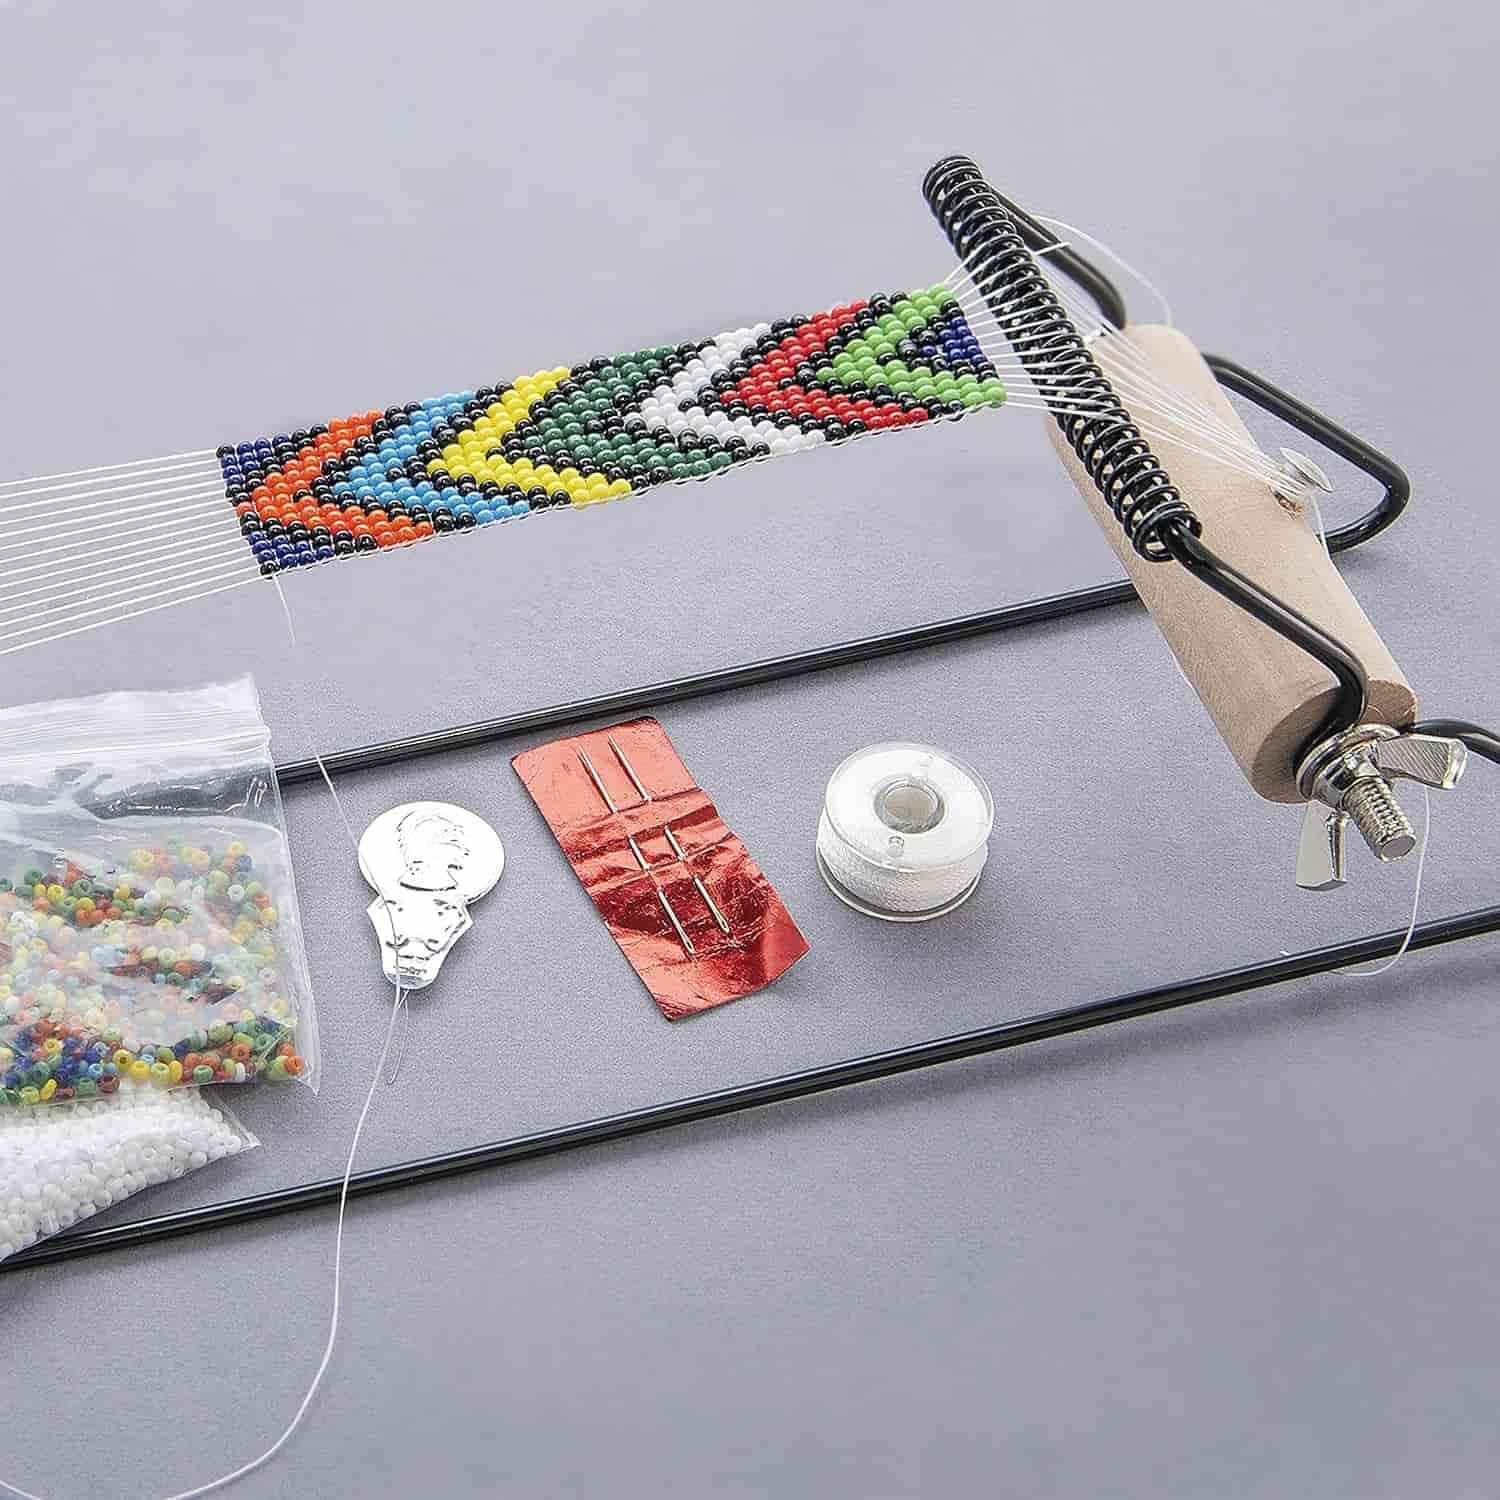
Step 1: Set Up Your Loom
You need to position the loom on a flat surface with the adjustable sliders aligned and ensure the loom's threads are stretched taut and secure.
Step 2: Thread Your Needle
Select a needle from the kit and thread it with a suitable length of thread provided. Then tie a secure knot at the end of the thread to prevent beads from slipping off.
Step 3: Begin Beadin
Position your needle at the starting point of the chevron pattern on the loom, and string the first row of beads onto the thread according to the chosen pattern, alternating colors to create the chevron effect. You should weave the needle over the first loom thread, under the second, over the third, and so forth. As you bead each row, gently press the beads into place with your fingers to ensure they sit snugly together. Then continue weaving the beads in this manner until the first row is complete.
Step 4: Continue Beading
Repeat the weaving process, adding subsequent rows of beads to complete the chevron pattern. During the beading process, you should ensure each row is tightly woven and aligned with the previous rows to maintain the integrity of the pattern. Take care to maintain consistent tension on the thread to avoid loose or uneven stitches.
Step 5: Finish Your Bracelet
Once the desired length of the bracelet is achieved, securely tie off the thread at the end of the pattern. You can trim any excess thread with scissors if needed and gently remove the bracelet from the loom, being careful not to disturb the beads. (Check the detailed guide to finish the loom beaded bracelet.)
Step 6: Add Finishing Touches
If desired, attach clasps or closures to the ends of the bracelet using jump rings and lobster clasps provided in the kit. Then use pliers to secure the closures in place.
There is no strict rule in making a bracelet, thus you can enjoy the creation in all kinds of styles. Don't hesitate to experiment with different patterns, colors, and bead sizes to personalize your designs.
Congratulations on taking the first steps towards mastering bead loom bracelet patterns! With the knowledge and techniques you've gained, you're well-equipped to embark on your creative journey. Grab your bead loom and let your imagination run wild as you weave together beautiful patterns that captivate and inspire. Happy beading!
The best types of beads for loom bracelets are typically small, uniform in size, and have a consistent hole size. Seed beads, especially Delica beads, are popular choices due to their cylindrical shape and wide range of colors. Miyuki, Toho, and Czech glass beads are also commonly used for their quality and variety.
You need to maintain consistent tension on the thread. Additionally, the beads are snugly placed next to each other as you weave to minimize gaps. Avoid pulling the thread too tightly, as this can cause the beads to pop off the loom.
Generally, a simple bracelet with a basic pattern, like geometric shapes, may take a few hours to complete, while more intricate designs, like animal or flora, could take several hours or even days.
Learn how to make seed bead bracelets with our step-by-step guide. Read and discover the art of bead weaving and create beautiful jewelry for yourself today!
Read More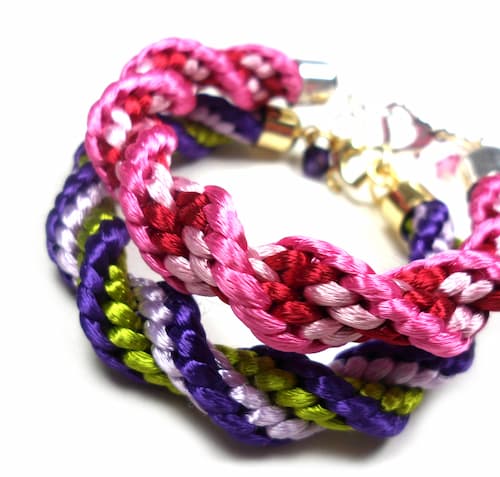
Discover how to make a spiral bracelet with our step-by-step guide, essential materials, and expert tips to perfect your craft. Start creating your unique jewelry today!
Read More
Looking for how to make a protection bracelet? Find out the process with our step-by-step guide. Explore the types and significance of the protection bracelet for peace.
Read More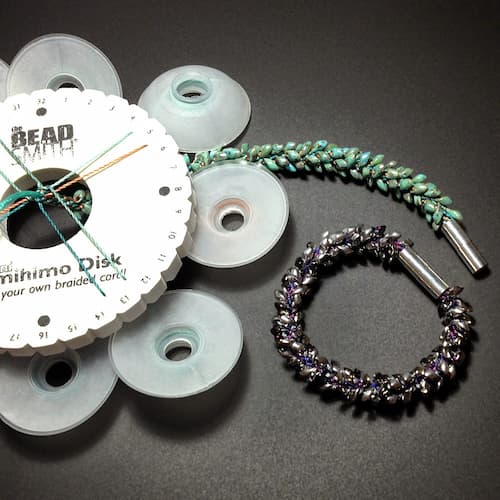
Learn how to make a kumihimo bracelet with our step-by-step guide. Discover what they are, gather materials and make stunning handmade accessories.
Read More