


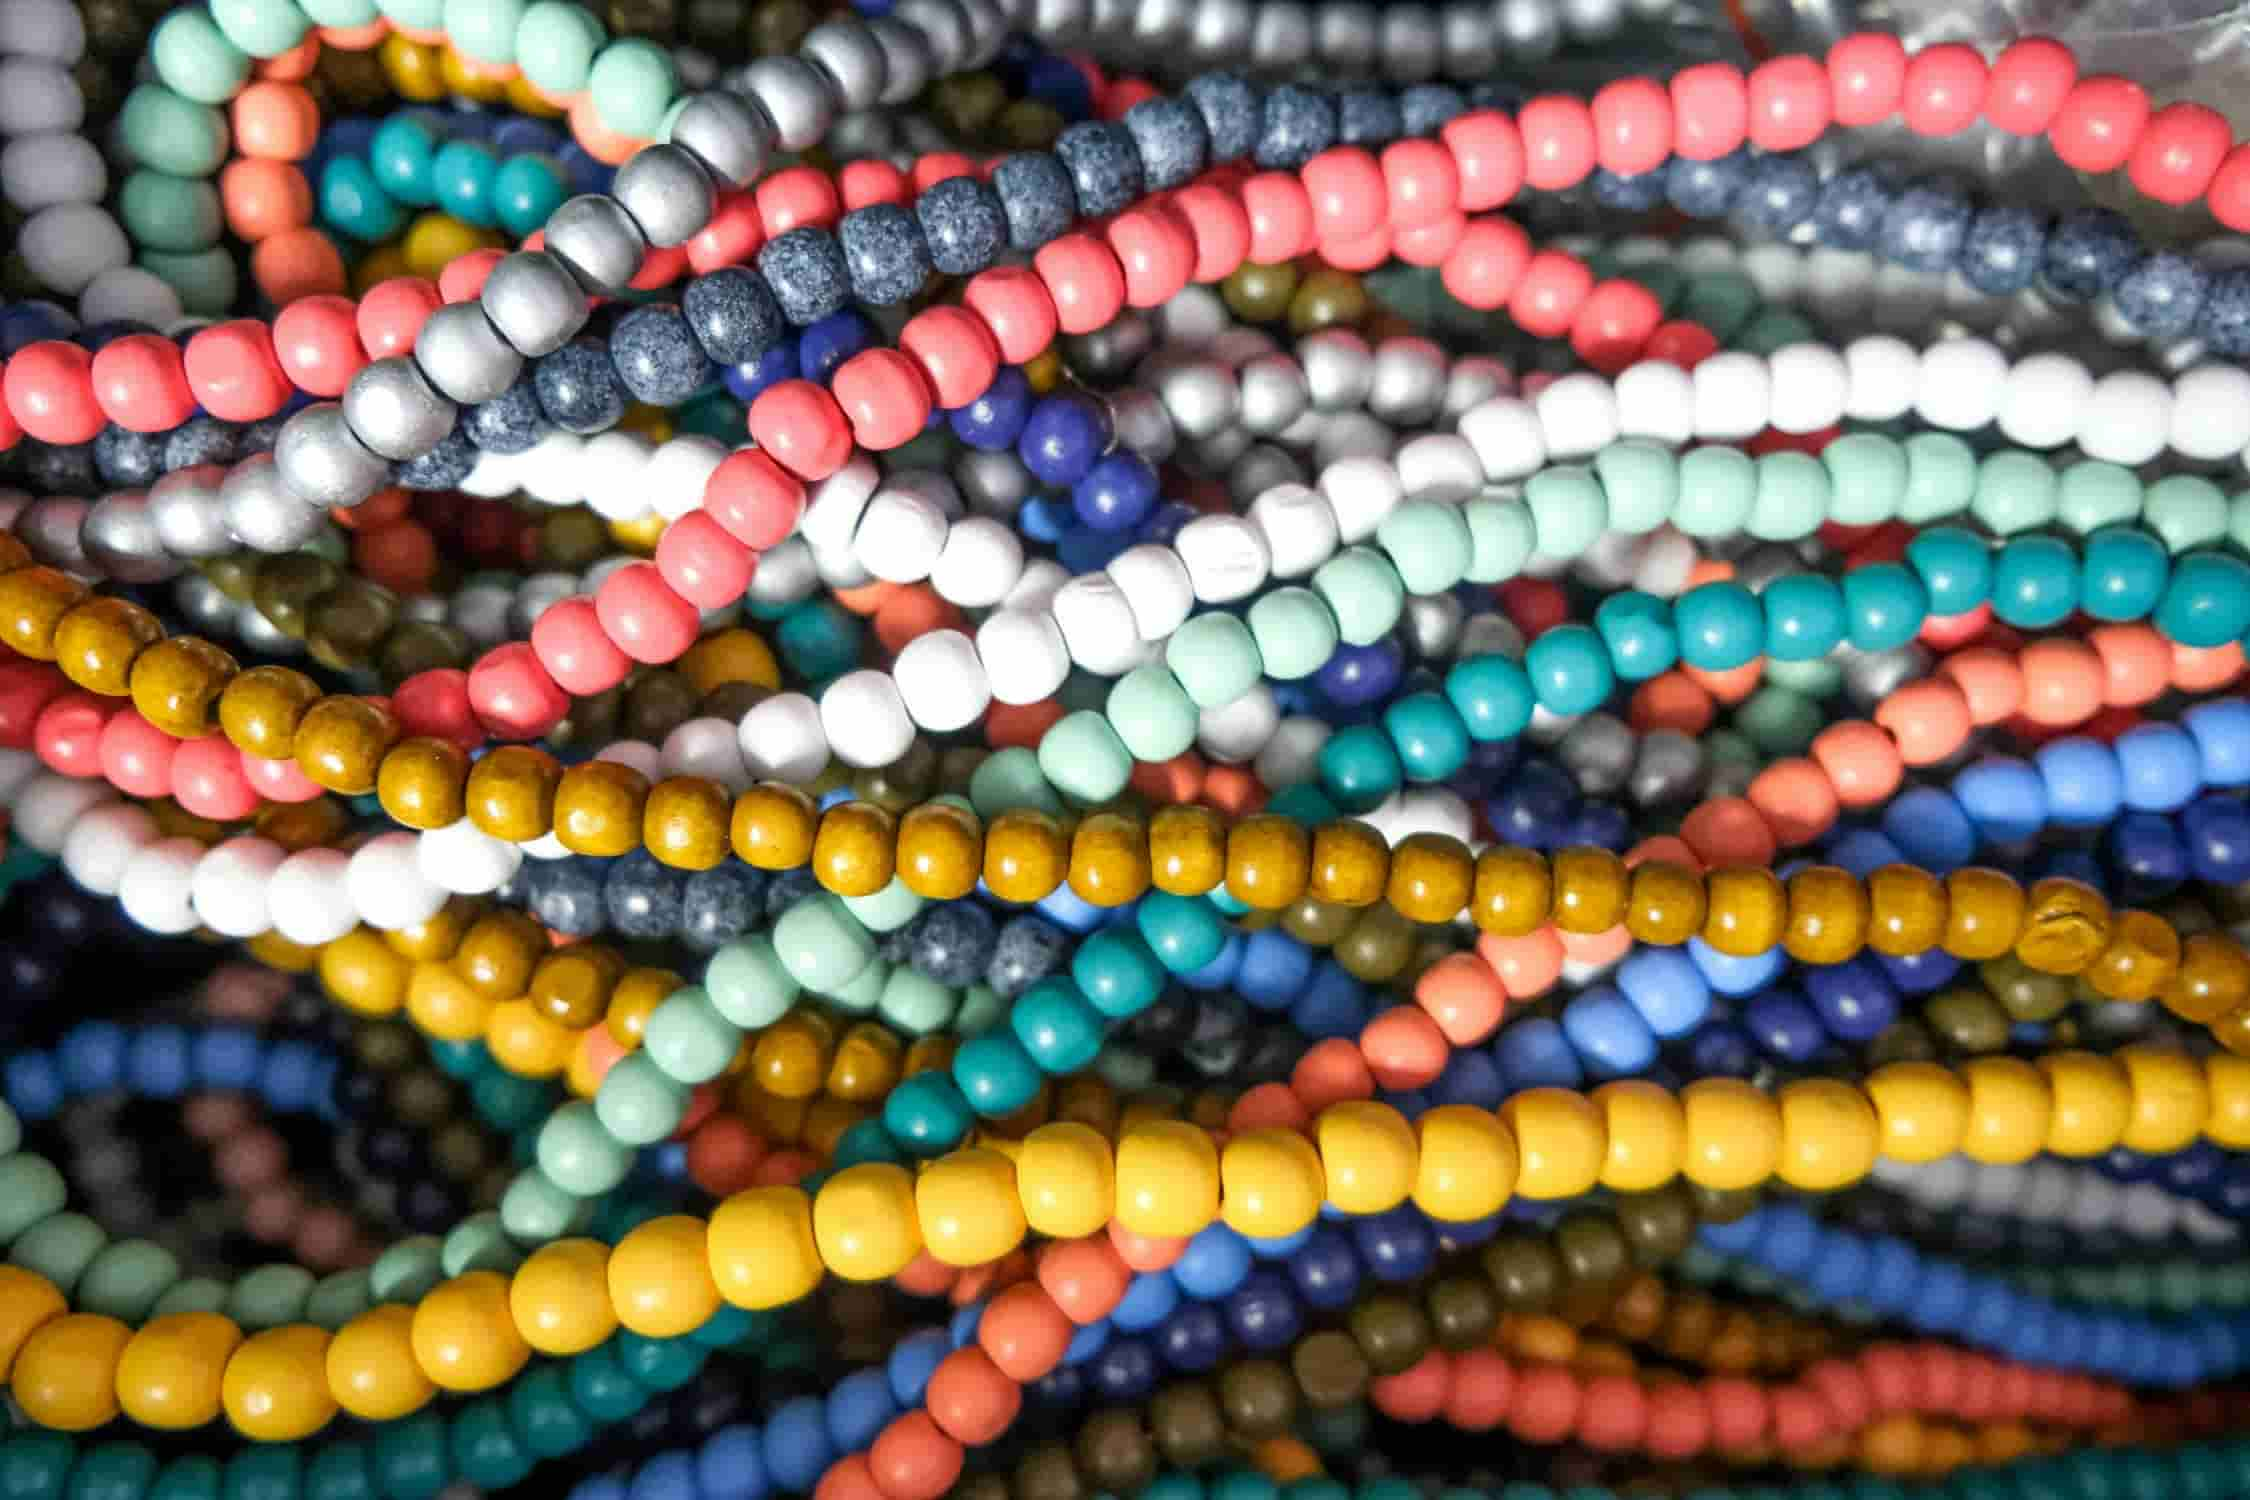
Welcome, bead enthusiasts, to the ultimate guide on how to make seed bead bracelets! Bracelets made with seed beads are expressions of creativity and personal style. This seed bead bracelet instructions will guide you through the whole making process, covering with materials collection, and share weaving tips, and techniques to help you create bracelets that dazzle and delight. Let's embark on this beading adventure together!
Creating seed bead bracelets can be a delightful and rewarding craft. However, you may wonder how to start a seed bead bracelet first. Before you get started, ensure you're equipped with the essential tools and materials. From beads to needles, clasps to pliers, each item is vital in bringing your bracelet visions to life. Here's a list of tools and materials you'll need:
Tools:
Materials:
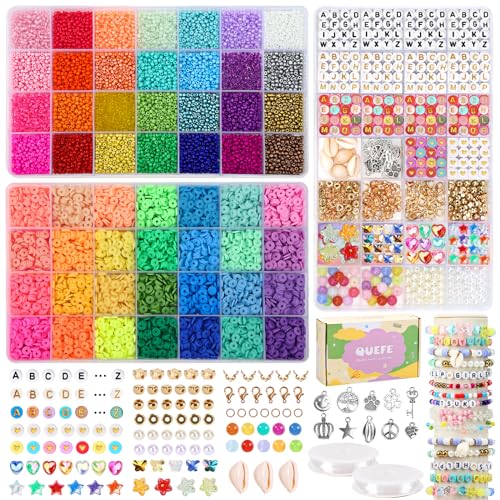
To facilitate your creations, you can also buy some one-stop material packages like QUEFE Glass Seed Beads for Bracelet Making Kit. Not only does it allow you to make a bracelet, but it also provides earring hooks, extended thread, and additional decorations to make earrings, rings, chains, and necklaces.
If you are wondering how to make a seed bead bracelet with an innovative look and original designs, you are at the right place. Here are some tips and ideas to help you create personalized bracelets:
Already have an idea to DIY seed bead bracelets for yourself or your friends? Let’s start with the step-by-step guide about how to make beaded bracelets with seed beads.
Step 1: Set the Scene
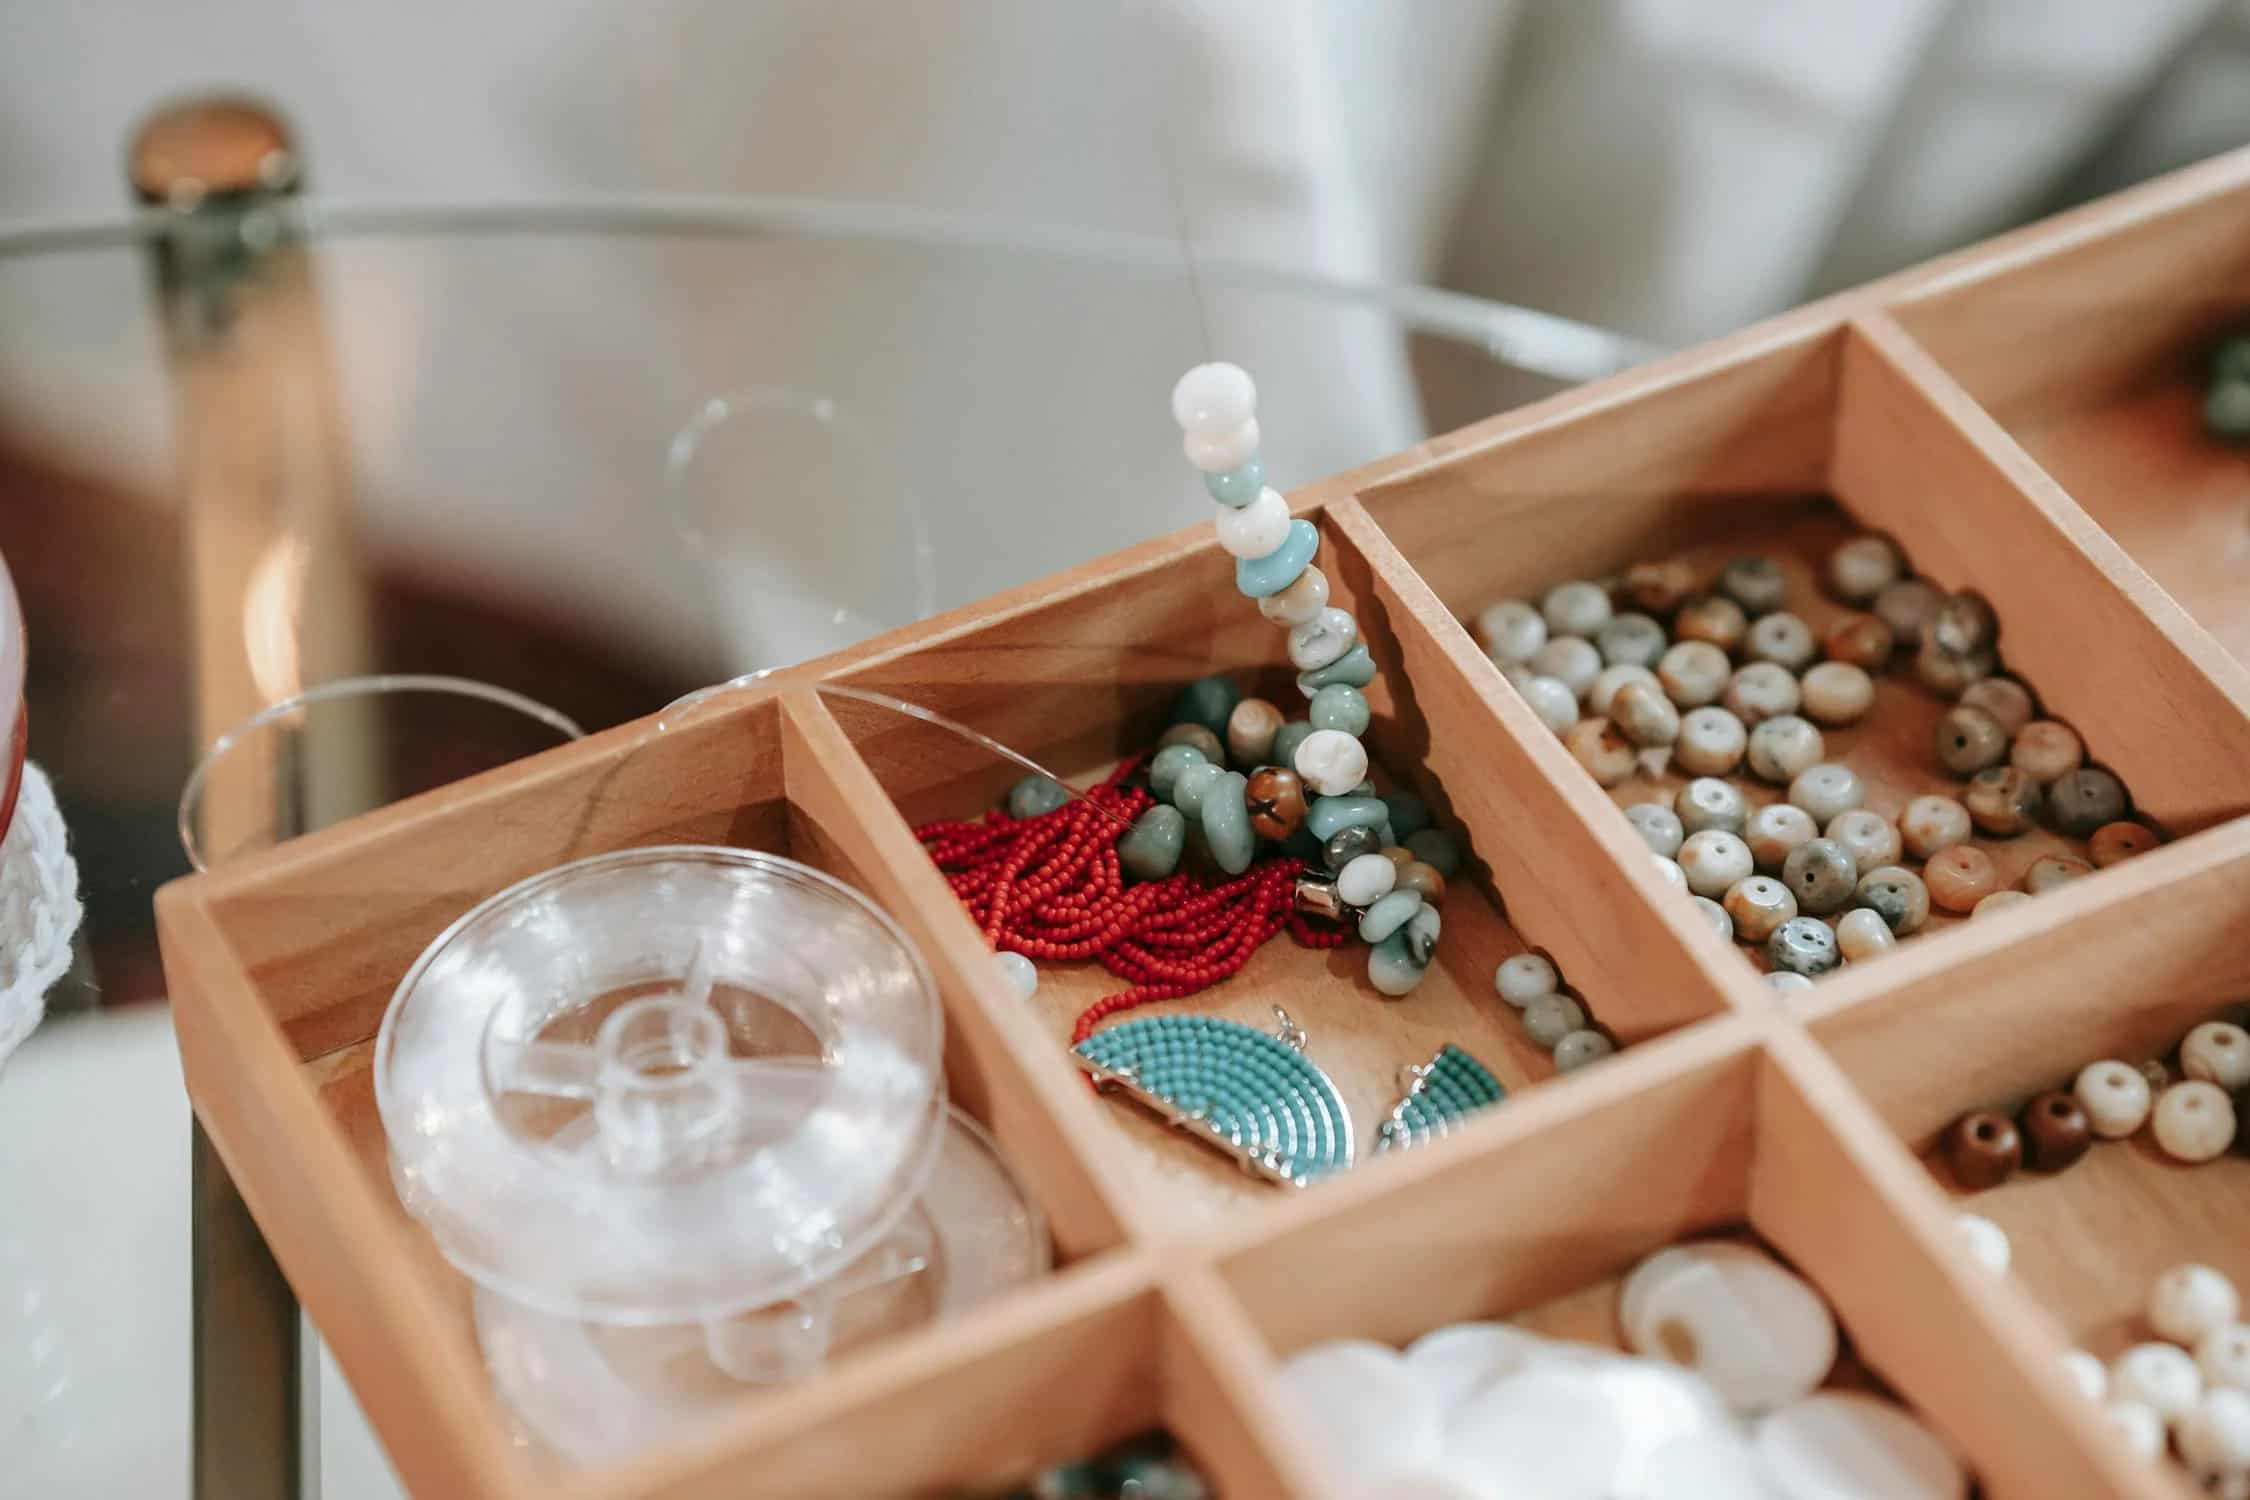
First, prepare your crafting space with tools and materials. Lay out your bead mat or tray to keep those little beads from making a grand escape.
Step 2: Measure and Cut Thread
Now, let's measure and cut our thread according to your desired bracelet length. Generally, you can add around 2-3 inches of extra thread for knots and attach the clasp.
Step 3: Thread the Needle
Time to thread your needle! If you're using a double thread for added strength, go ahead and double it up before threading it onto your needle. Pro tip: moisten the end of the thread to make threading a breeze.
Step 4: Attach the Clasp
Secure one end of your thread to your chosen clasp with a sturdy knot or a trusty crimp bead. Leave a little tail around 1-2 inches for tying knots later.
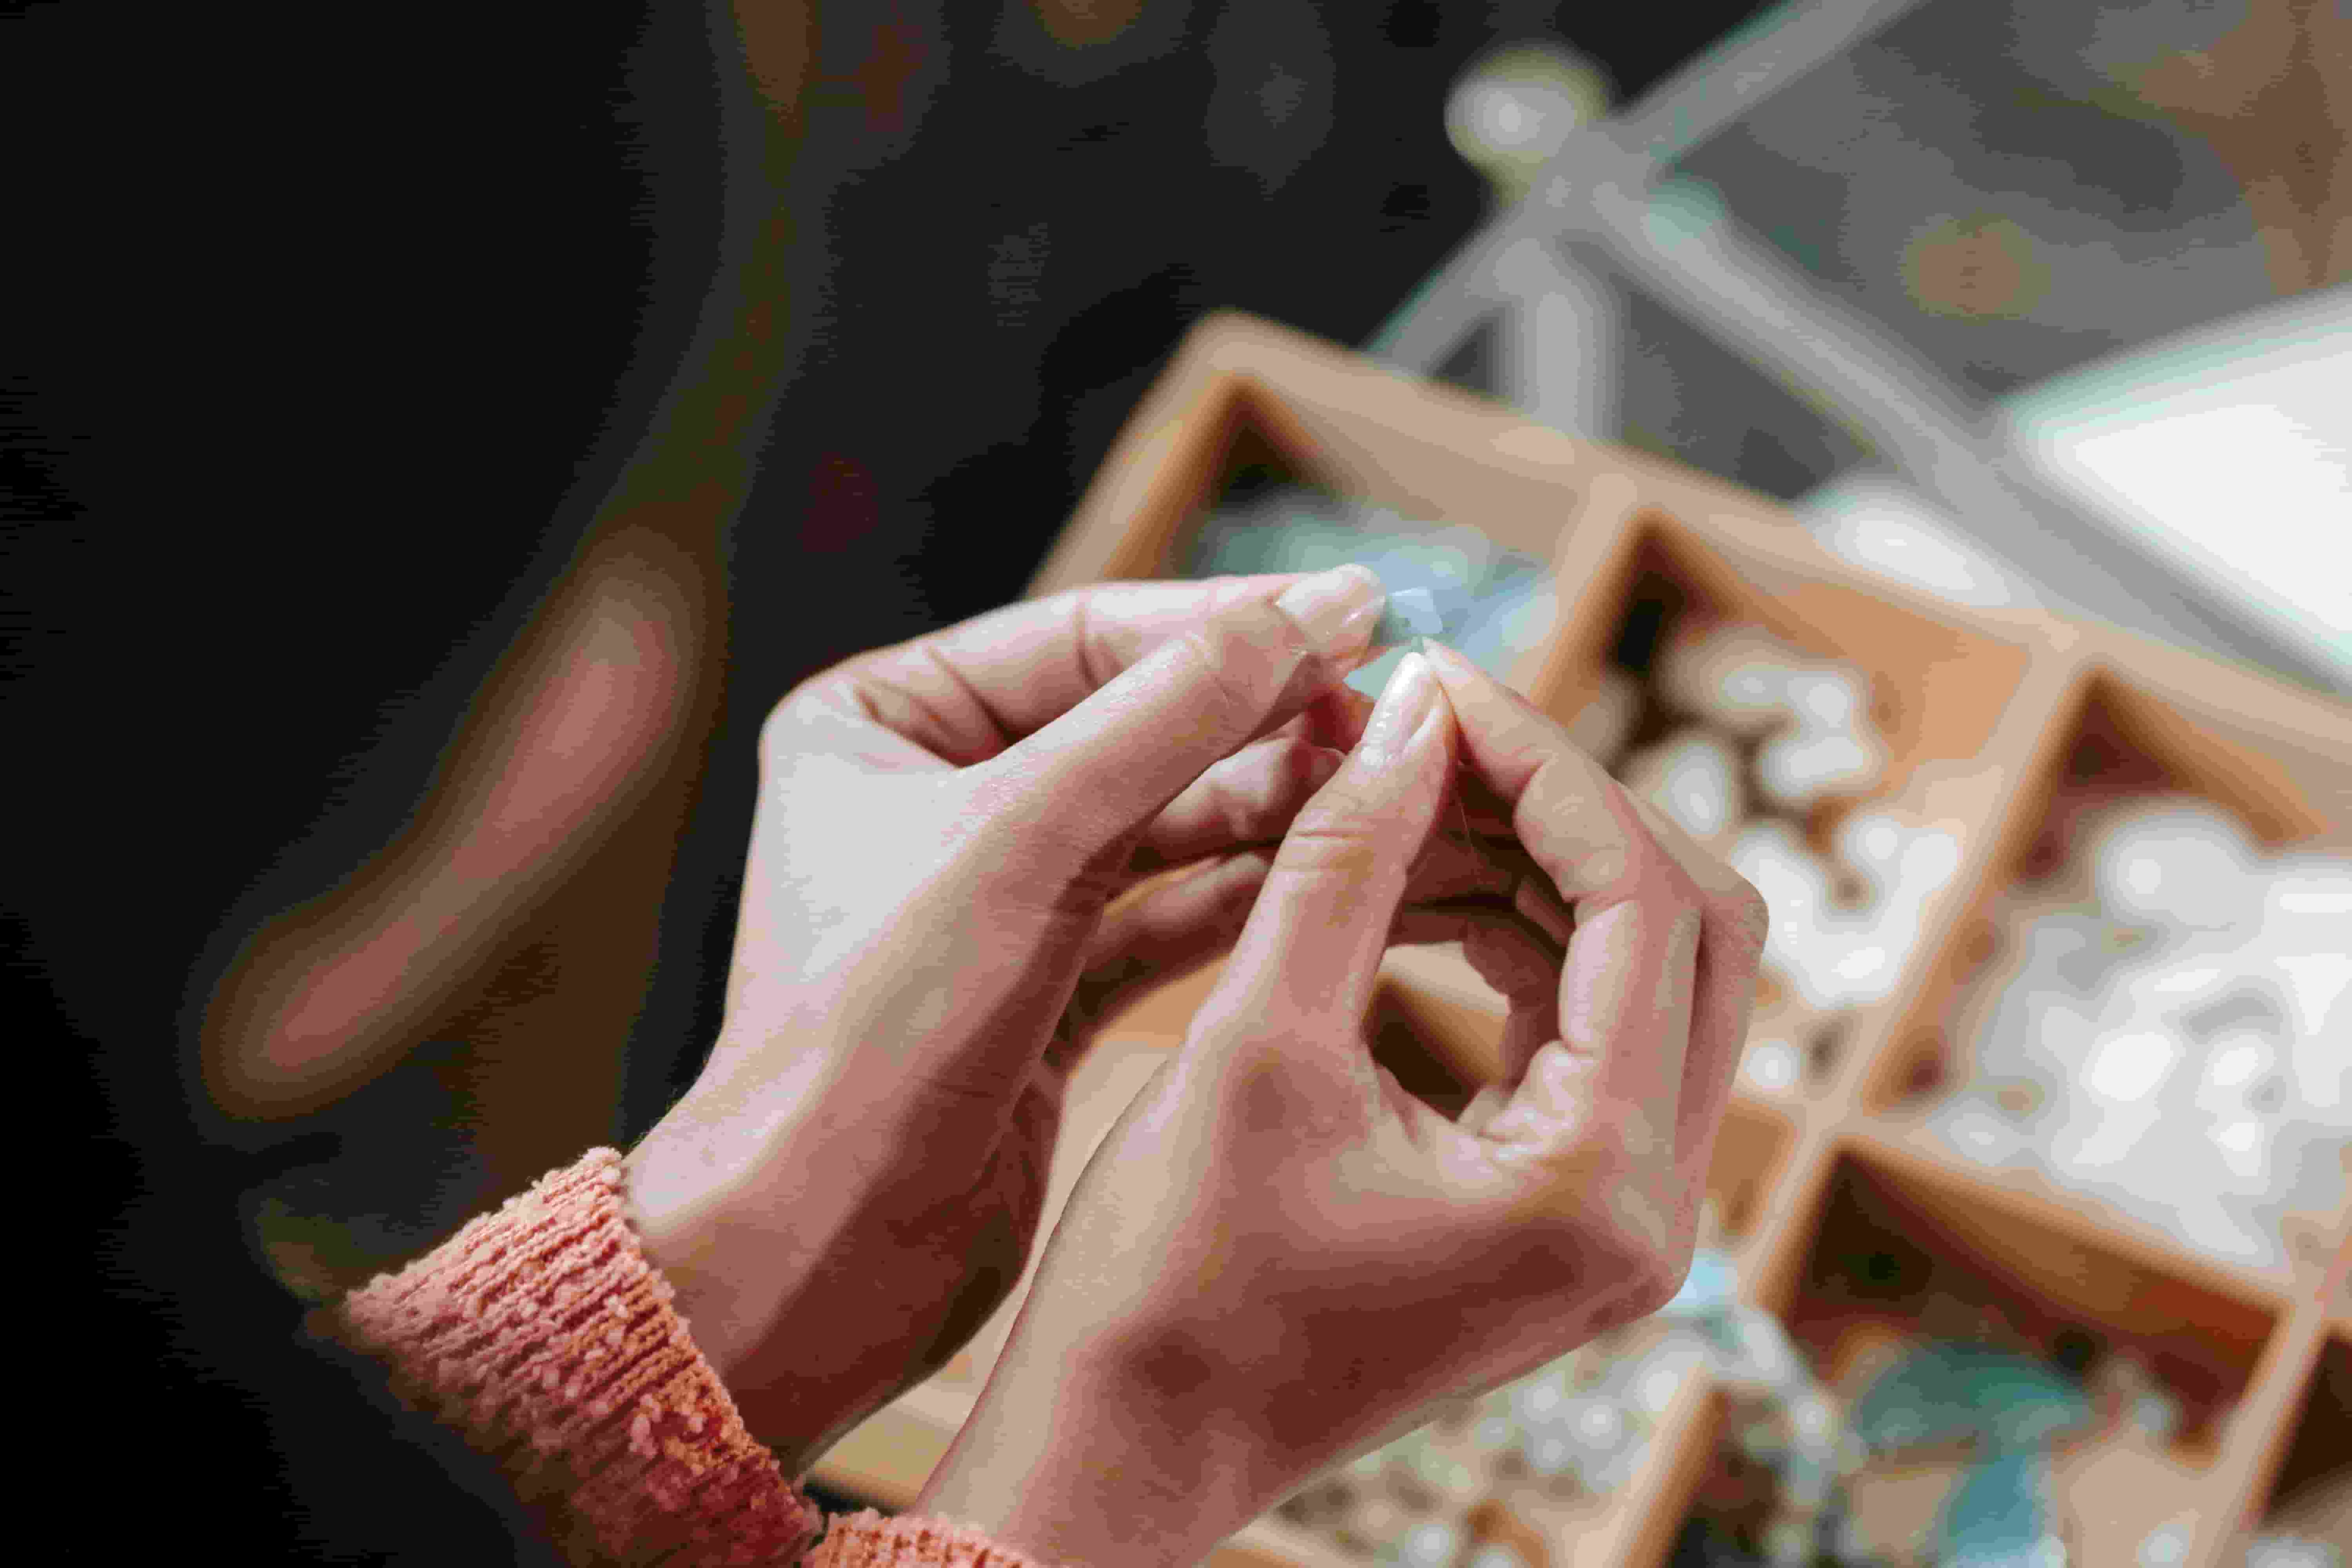
Step 5: Let's Bead
It's time to make a bracelet with seed beads! Start stringing those seed beads, spacer beads, and charms onto your thread one by one, following your chosen pattern or simply going with the flow.
Step 6: Add a Clasp
Once you've reached the desired length, attach the clasp to the end of the bracelet by securing it with knots or crimp beads.
Step 7: Trim Excess Thread and Adjust Beads
Carefully trim any excess thread, ensuring the ends are neat. Additionally, check the bracelet for any loose beads or uneven spacing, and make any necessary adjustments for a polished finish.
And there you have it, smart fellow crafters! I hope you enjoyed this detailed seed bead bracelet tutorial to make your very own seed bead bracelet.
As we conclude our journey through the tutorial on how to make seed bead bracelets, I hope you feel inspired and empowered to unleash your creativity. Remember, the beauty of bead lies not only in the finished piece but also in the creative process. So gather your beads, thread your needles, and let your imagination soar as you embark on the bead-weaving adventures.
You can tie knots at both ends of the thread, or use crimp beads for a professional finish. Apply a dab of glue to knots or crimps for extra security.
Yes. You can simply remove some beads and re-tie the knots or reattach the clasp to make them smaller. Or extend the length of the bracelet with extra thread and add additional beads to make them larger.
On average, a simple seed bead bracelet like this instruction can take anywhere from 30 minutes to an hour to complete, while more intricate designs may take several hours or even days to finish.
Discover how to make a spiral bracelet with our step-by-step guide, essential materials, and expert tips to perfect your craft. Start creating your unique jewelry today!
Read More
Looking for how to make a protection bracelet? Find out the process with our step-by-step guide. Explore the types and significance of the protection bracelet for peace.
Read More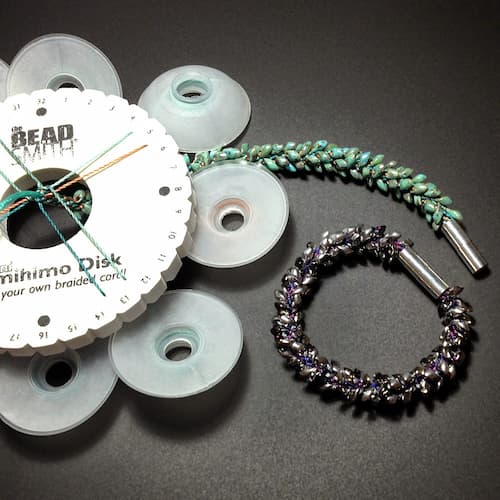
Learn how to make a kumihimo bracelet with our step-by-step guide. Discover what they are, gather materials and make stunning handmade accessories.
Read More
Learn how to make a kandi bracelet with our ultimate guide covering history, culture, materials, and a step-by-step tutorial for crafting your own.
Read More