


Wouldn't it be neat if you could make your own rosary bracelet? Making a rosary bracelet is a lot more than a simple craft; it's an investigation of the spiritual path and a singular attempt to blend artistry and devotion.
Especially now, in an age where trends change frequently, creating a rosary bracelet is a timeless way to show your faith and express your creativity.
If this interests you, read on to create a rosary bracelet where beads transcend beyond simple jewelry to become real, physical reminders of prayer and reflection.
Rosary bracelets hold significant meaning for individuals who follow the Catholic faith. The Rosary itself is a form of prayer in the Catholic tradition that involves the repetition of prayers and meditation on specific events in the lives of Jesus Christ and the Virgin Mary. A Rosary bracelet is a wearable version of the traditional Rosary beads, designed to be worn on the wrist. Here are some of the significances associated with Rosary bracelets:
1.Prayer Aid: Like the traditional Rosary, the bracelet serves as a tool for prayer. It helps individuals keep track of the prayers and meditations, allowing for a more focused and contemplative experience.
2.Symbol of Faith: Wearing a Rosary bracelet can be a visible and tangible symbol of one's faith. It serves as a reminder of the individual's commitment to prayer, spiritual growth, and connection to the Catholic tradition.
3.Personal and Meaningful: Rosary bracelets are often chosen for their personal significance. Some people may receive them as gifts for special occasions, such as First Communion, Confirmation, or weddings. The bracelet can become a cherished item with sentimental value.
4.Devotion to Mary: The Rosary is often associated with devotion to the Virgin Mary. Wearing a Rosary bracelet can be a way for individuals to express their love and devotion to Mary as they recite prayers dedicated to her, such as the Hail Mary.
5.Spiritual Protection: Some individuals believe that wearing a Rosary bracelet provides spiritual protection and serves as a form of spiritual armor against negative influences.
Keep in mind that while Rosary bracelets are popular among Catholics, their importance can vary among individuals. Some may use them strictly for prayer, while others may also view them as a form of jewelry with added spiritual meaning.
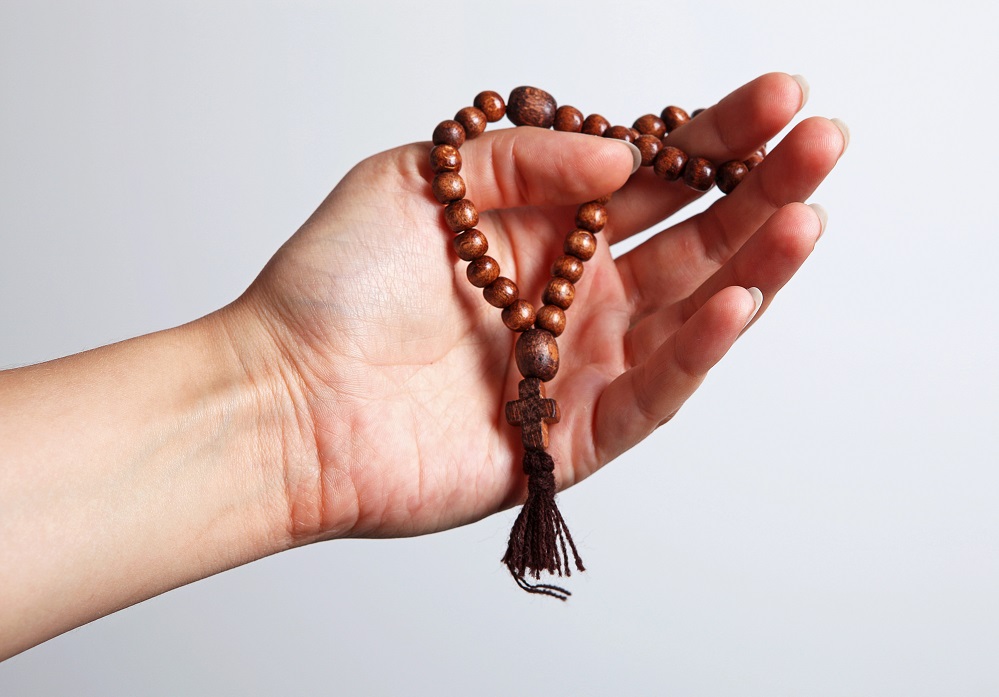
The bracelet typically consists of ten beads, representing the ten Hail Mary prayers of a decade, along with additional beads for the Our Father and Glory Be prayers.
The structure mirrors the sequence of prayers in a standard rosary, enabling individuals to engage in meaningful prayer and reflection while wearing this compact accessory.
Here's how a Rosary bracelet typically works:
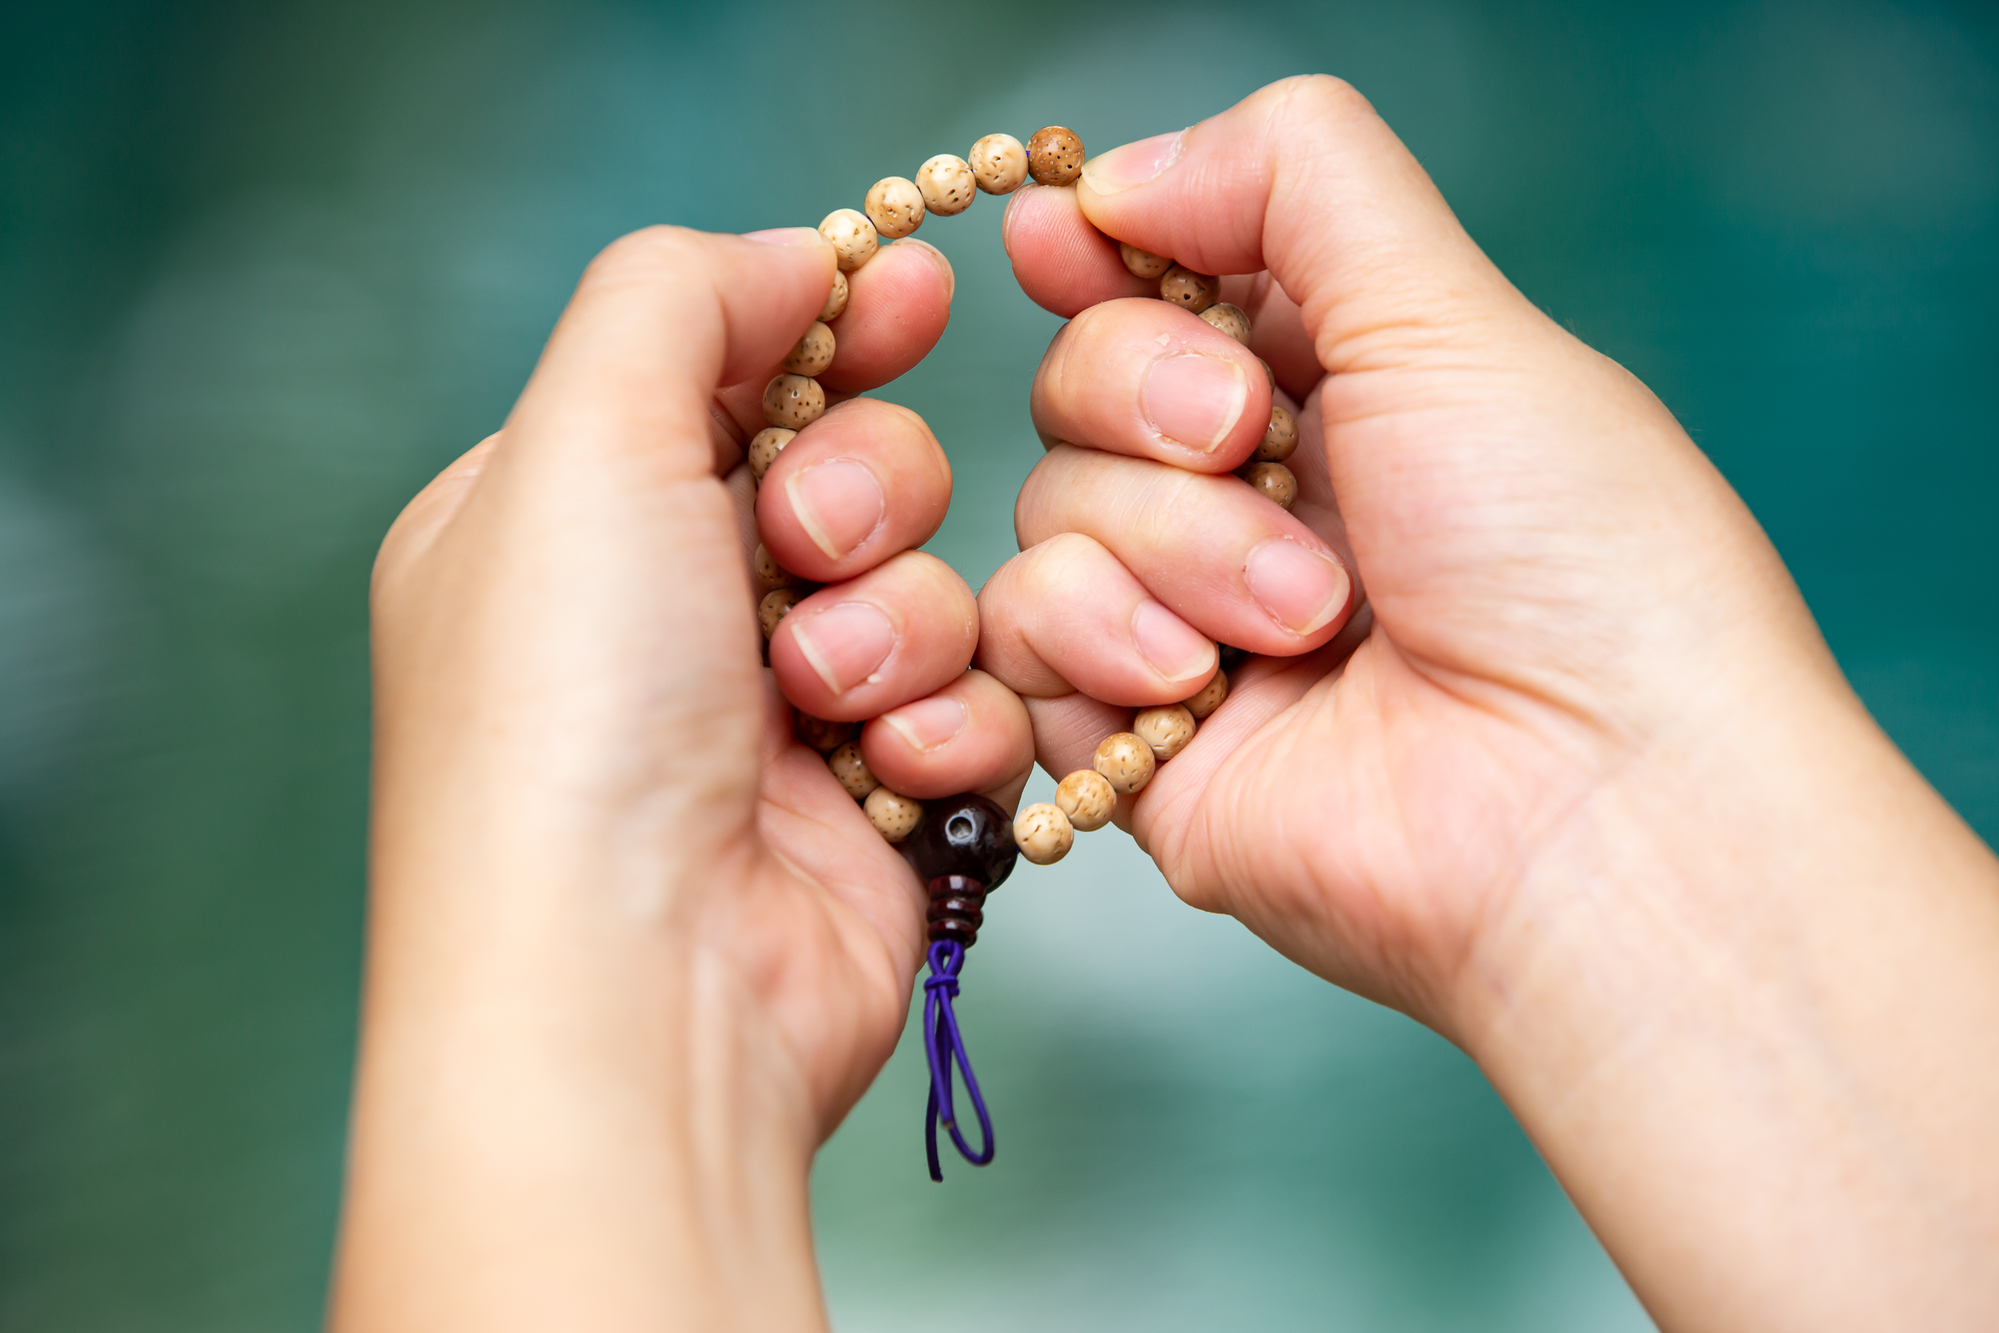
1.Bead Configuration: A Rosary bracelet consists of a series of beads arranged in a specific configuration. The beads are often organized into ten groups, each called a decade, which corresponds to a set of prayers.
2.Crucifix or Cross: Like the traditional Rosary, a Rosary bracelet usually features a crucifix or cross. This serves as a focal point and a starting point for the prayers.
3.Decades: Each decade consists of ten beads, usually separated by a larger bead. The larger bead is often referred to as the "Our Father" bead, while the smaller beads represent the "Hail Mary" prayers.
4.Mysteries: The Rosary is divided into sets of mysteries that correspond to events in the lives of Jesus Christ and the Virgin Mary. The mysteries are typically the Joyful, Sorrowful, Glorious, and Luminous mysteries. Meditations on these mysteries are integrated into the praying of the Rosary.
Now that we've covered the essentials, how do you make a rosary bracelet that is unique and special to you and your spiritual faith? Read on!
Creating a personalized rosary bracelet can be a rewarding and meaningful endeavor. To craft your own rosary bracelet, gather the following materials:
1. Beads:
Choose beads that resonate with your aesthetic preferences and spiritual significance. Traditional rosary bracelets often incorporate smooth, round beads, but you can experiment with various shapes, sizes, and materials to create a unique piece.
2. Cord or String:
Select a durable and flexible cord or string to string the beads together. Common choices include nylon, silk, or leather cords. Ensure that the chosen material complements the overall design and comfortably fits around the wrist.
3. Crucifix and Medals:
Include a small crucifix and any additional medals or charms to enhance the religious symbolism of the bracelet. These elements are often attached near the bracelet's closure and can be chosen based on personal devotion or religious affiliations.
4. Pliers and Scissors:
To secure the beads and add finishing touches, keep pliers and scissors handy. Pliers are useful for crimping and securing the cord, while scissors help trim excess material for a polished final product.
5. Clasps or Fasteners:
Choose a clasp or fastener that suits the overall design and provides a secure closure for the bracelet. Lobster clasps and toggle clasps are popular options, ensuring both functionality and aesthetic appeal.
Having prepared the materials, let's go to the steps on how to make a rosary bracelet with string and beads and the other needed materials.
Follow these detailed instructions on how to make a knotted rosary bracelet that is meaningful, personalized and reflects your style and devotion.
Before you begin crafting your rosary bracelet, take a moment to consider the design and significance of the beads. Select beads that resonate with your personal style and hold symbolic meaning for your faith.
Tips:
Cut a 12-inch cord using sharp scissors, ensuring a clean edge. Thread one end of the cord through the chosen clasp and secure it with a tight knot. This initial step forms the base of your bracelet, providing a secure attachment point for the beads.
Tips:
Now, it's time to bring your rosary bracelet to life by stringing the beads in a specific pattern. Begin with three Hail Mary beads, followed by one Our Father bead. Repeat this sequence until you've achieved the desired length for your bracelet. This pattern replicates a single decade of the traditional rosary, creating a structured and meaningful design.
Tips:
As you approach the end of your rosary bracelet, add a unique touch by incorporating three additional beads after the last Hail Mary beads. These beads serve as a decorative and functional element, creating a closing knot for the bracelet.
Tips:
To complete the structure of your rosary bracelet, loop the cord through a jump ring, and secure it with a tight knot. This step forms the closure of the bracelet, allowing for easy wear and removal. Once the knot is secure, trim any excess cord for a clean and tidy finish.
Tips:
After securing the first jump ring and creating the initial knot, repeat the process on the opposite end of the bracelet. Thread the cord through the second jump ring and tie a secure knot. This step completes the circular structure of the rosary bracelet, forming a cohesive and balanced design.
Tips:
Before finalizing the bracelet, ensure that it fits comfortably around your wrist. Adjust the size by adding or removing beads if necessary. A well-fitted bracelet helps improve comfort and contributes to the overall aesthetic appeal.
Tips:
Verify the functionality of the clasp and jump rings by testing the closure multiple times. Ensuring a secure and reliable closure is crucial for the longevity of your rosary bracelet. A properly functioning clasp prevents accidental unraveling and provides ease of wear.
Tips:
For a personalized touch, consider adding a small crucifix or charm to your rosary bracelet. Use additional jump rings to attach the charm, placing it near the clasp for prominence. This optional step allows you to infuse additional meaning and symbolism into your creation.
Tips:
In crafting your own rosary bracelet, you imbue it with personal devotion and creativity. However, for those seeking elegance and convenience, the Miabella 18K Gold Rosary Bracelet emerges as a splendid choice. This exquisite piece melds spirituality with fashion, adorned with the Miraculous Medal and a polished cross, symbolizing faith in a stylish manner. It's versatile for any outfit, comfortable for daily wear, and adjustable for a perfect fit. Embrace the seamless blend of devotion and style with this ready-to-wear, divine accessory.

In conclusion, learning how to make a cord rosary bracelet is a way to personalize your faith journey. Through understanding the significance, functionality, and careful selection of materials, you've seen the steps to craft a piece that's both spiritually meaningful and personally cherished. Whether for yourself or as a heartfelt gift, a handmade rosary bracelet carries the power of prayer and the beauty of individual expression, making it a truly unique and sacred accessory.
The standard number of beads on a rosary bracelet is ten, representing a decade of the traditional rosary. Each bead signifies a Hail Mary prayer. In addition to these ten, there is usually one Our Father bead, making a total of eleven beads in a typical rosary bracelet. This structure aligns with the meditative practice of praying one decade.
To ensure a comfortable fit, measure your wrist accurately using a flexible tape or string. Add an extra half-inch for a snug fit or more for a looser feel. Keep in mind that rosary bracelets are designed to fit more closely than regular bracelets for ease of prayer.
The colors of the rosary bracelet can hold symbolic meaning. In many traditions, each color represents different aspects of faith and spirituality. For instance, white symbolizes purity, red signifies sacrifice, and blue represents devotion to the Virgin Mary. Consider personal preferences or follow traditional color associations when choosing beads to infuse deeper significance into your rosary bracelet.
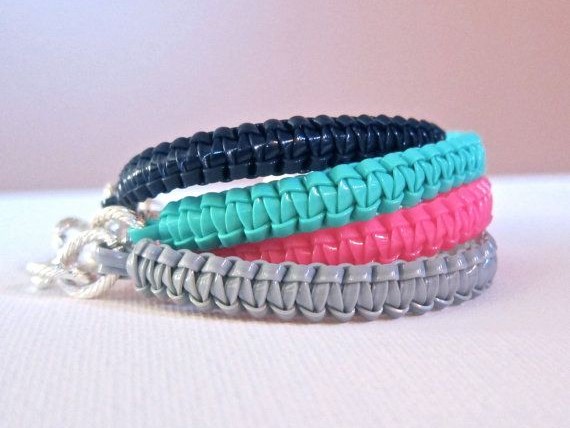
Uncover simple steps on how to make a gimp bracelet. Includes materials needed, basic & advanced techniques, and patterns for your first craft project.
Read More
Step into crafting elegance with our guide on how to make a cufflink bracelet. Transform, customize, and add a personal touch to your style.
Read More
Get quick tips on how to remove festival bracelet without damage! Understand different types & locking methods for easy, hassle-free removal.
Read More
Get a step-by-step guide on how to measure pandora bracelet! Learn new tips, measure with ease and add charms with confidence for a snug, comfy fit.
Read More