


Crafting your own stretch bead bracelets can be an incredibly rewarding and creative endeavor. Whether you're a seasoned jewelry maker or a beginner looking for a new hobby, creating these stylish accessories is both fun and fulfilling. In this blog, we’ll walk you through everything you need to know about how to make stretch bead bracelets. Specifically, we’ll cover the essential materials required, the step-by-step instructions for the crafting process, and some powerful and practical customizing tips. Unleash your creativity with our guide on handmade stretch bead bracelets now!
A successful crafting journey of how to make a bead bracelet with stretch cords begins with gathering essential supplies. Specifically, you’ll need to collect the following items when making your own stretch bead bracelet:
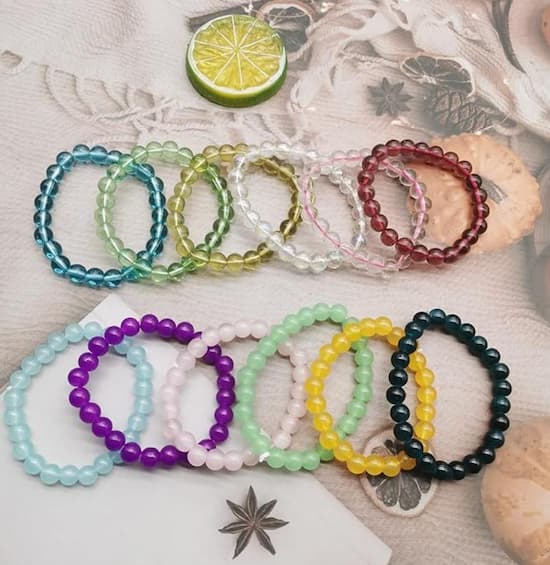
Beads: Choose beads that resonate with your style and preferences. For easier maneuvering, beads with large holes are preferred.
Elastic Beading Cord: Select a durable and flexible elastic cord designed specifically for jewelry making. Opt for a size that matches the hole diameter of your beads for secure threading.
Beading Needle: A thin, flexible beading needle facilitates the smooth threading of beads onto the elastic cord, especially when working with smaller or tightly holed beads.
Scissors: Sharp, precision scissors are indispensable for cutting the elastic cord cleanly and accurately.
Measuring Tape: for measuring the wrist circumference, which is essential in determining the cord length.
Crimp Covers:In our current project, we use crimp covers as a means to conceal the knot after tying it off.
Beading Tray: Keeping your beads organized and easily accessible, a beading tray prevents mix-ups and streamlines the crafting process.
Jewelry Glue: A reliable jewelry glue is handy for securing knots and adding extra reinforcement to your bracelet's construction.
With your core supplies at hand, let’s dive into the actual DIY process of how to make beaded bracelets with elastic cords!
The very first step of how to make a stretch bracelet with beads is, as you might expect, design planning. Before diving into the creation process, take some time to plan your bracelet's design. Consider the color scheme, bead sizes, patterns, or any additional embellishments you may want to incorporate.
For this project, we'll be using a double strand of elastic cord. How to make an elastic bead bracelet with 2 strands? Start by measuring your wrist with a flexible measuring tape. Then, cut a length of cord that is twice the measurement of your wrist plus an additional 12 inches. It's better to cut longer initially, as you can always trim off excess cord later if needed. For larger beads, consider leaving a bit more extra length to accommodate their size.
Prestretching the elastic cord is essential to prevent the bracelet from becoming too loose over time. To prestretch the cord, gently pull the cord in 4-inch intervals across its entire length. This process helps to remove any initial elasticity and ensures that your bracelet maintains its shape and fit when worn.
Now comes the stringing process. Place a bead stopper on each end of the cord to prevent the beads from sliding off as you work. Then, lay out the beads in the beading tray, and begin threading the beads onto the cord. Ensure that each bead has two strands of cord passing through it as we are doing a 2-strand bracelet.
You can choose to string the beads by hand or use a beading needle, depending on which method you find easier and more comfortable. Generally, manual stringing will do if the holes on the beads are large enough.
After stringing all the beads, it's time to tie off the bracelet.
Remove the bead stoppers from the cord. Now, you'll notice that you have two loose ends on one side and a loop on the other. Take one loose end and pass it through the loop on the opposite side. Then, hold this loose end and the other loose end together, and tie a knot to secure the beads in place.
How to knot elastic bead bracelets? There are various knot types you can use for this step, but for increased strength and security, we'll use a surgeon's knot here. It is way stronger than regular overhand knots. After tying the knot, apply a small amount of jewelry glue to the knot to prevent it from coming undone.
Now comes the trickiest part of making bead bracelets with elastic. You need to hide the knot and make your craft look more professional. There are two main methods to achieve this:
Hide in an Adjacent Bead: This is the simpler approach of the two. Simply slide the knot under an adjacent bead. However, this approach only works if the bead holes are large enough to accommodate the knot.
Using a Crimp Cover: This is the more complex but also more versatile approach. Take a crimp cover (Pay attention - it is a crimp cover, not a crimp bead.), slip it cover the knot you just tied, and close it using a pair of pliers. Thus, the knot is securely enclosed inside the crimp cover and is no longer visible.
No matter what approach you take, make sure to hide the knot while the glue on it is still sticky. Otherwise, the coverage may not be as strong.
At this point, there is only one more thing you need to do. After the glue on the knot has completely dried (which can take up to 24 hours), trim off the excess cord with a pair of scissors. Now, take a moment to inspect your newly crafted stretch bead bracelet and check for minor imperfections. If all is good, congratulations, you are done!
Even if made by yourself, a bracelet is not truly your bracelet if you have not customized it and lent it a personal touch. Here are some essential customization ideas to help you achieve that leap:
Select beads that hold sentimental value or represent aspects of your life that are meaningful to you. Whether it's birthstone beads symbolizing loved ones, beads in colors that evoke fond memories, or beads with inspirational messages, infusing your bracelet with personal significance adds depth and emotional connection.
Add charm beads that reflect your personality, interests, or beliefs. From symbols of luck and protection to miniature representations of hobbies or aspirations, charm beads allow you to tell your story and express your individuality through your bracelet.
Experiment with a variety of bead sizes, shapes, and textures to create a visually captivating and dynamic bracelet. Combining different bead types, such as smooth round beads, faceted gems, and textured accents, adds interest and depth to your design.
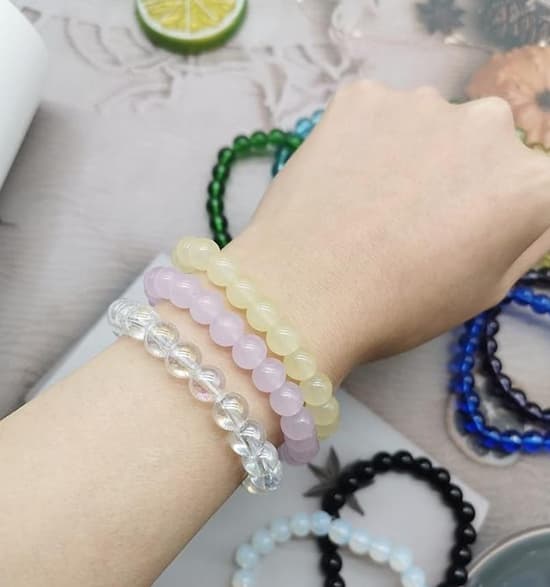
So here you are - an in-depth tutorial on how to make stretch bead bracelets with the necessary supplies and a bit of imagination. With this roadmap of how to make a bead bracelet with elastic string in hand, you can embark on a bump-free journey of crafting a stretch bead bracelet as elegant as the FINZOR Beaded Stretch Bracelet and showcase your individuality with confidence. Wait no more and embrace the style your own bracelet makes possible today!
The number of beads needed to make a stretch bracelet depends on various factors such as bead size, wrist size, and desired bracelet length. On average, for a standard adult-sized bracelet, you might need around 20 to 30 beads.
To prevent your stretch bracelet from breaking, adhere to the following practices:
Cutting the stretch cord for bracelets typically takes just a few seconds. The process involves only measuring the desired length of the cord using a ruler or measuring tape and then using sharp scissors to make a clean cut.
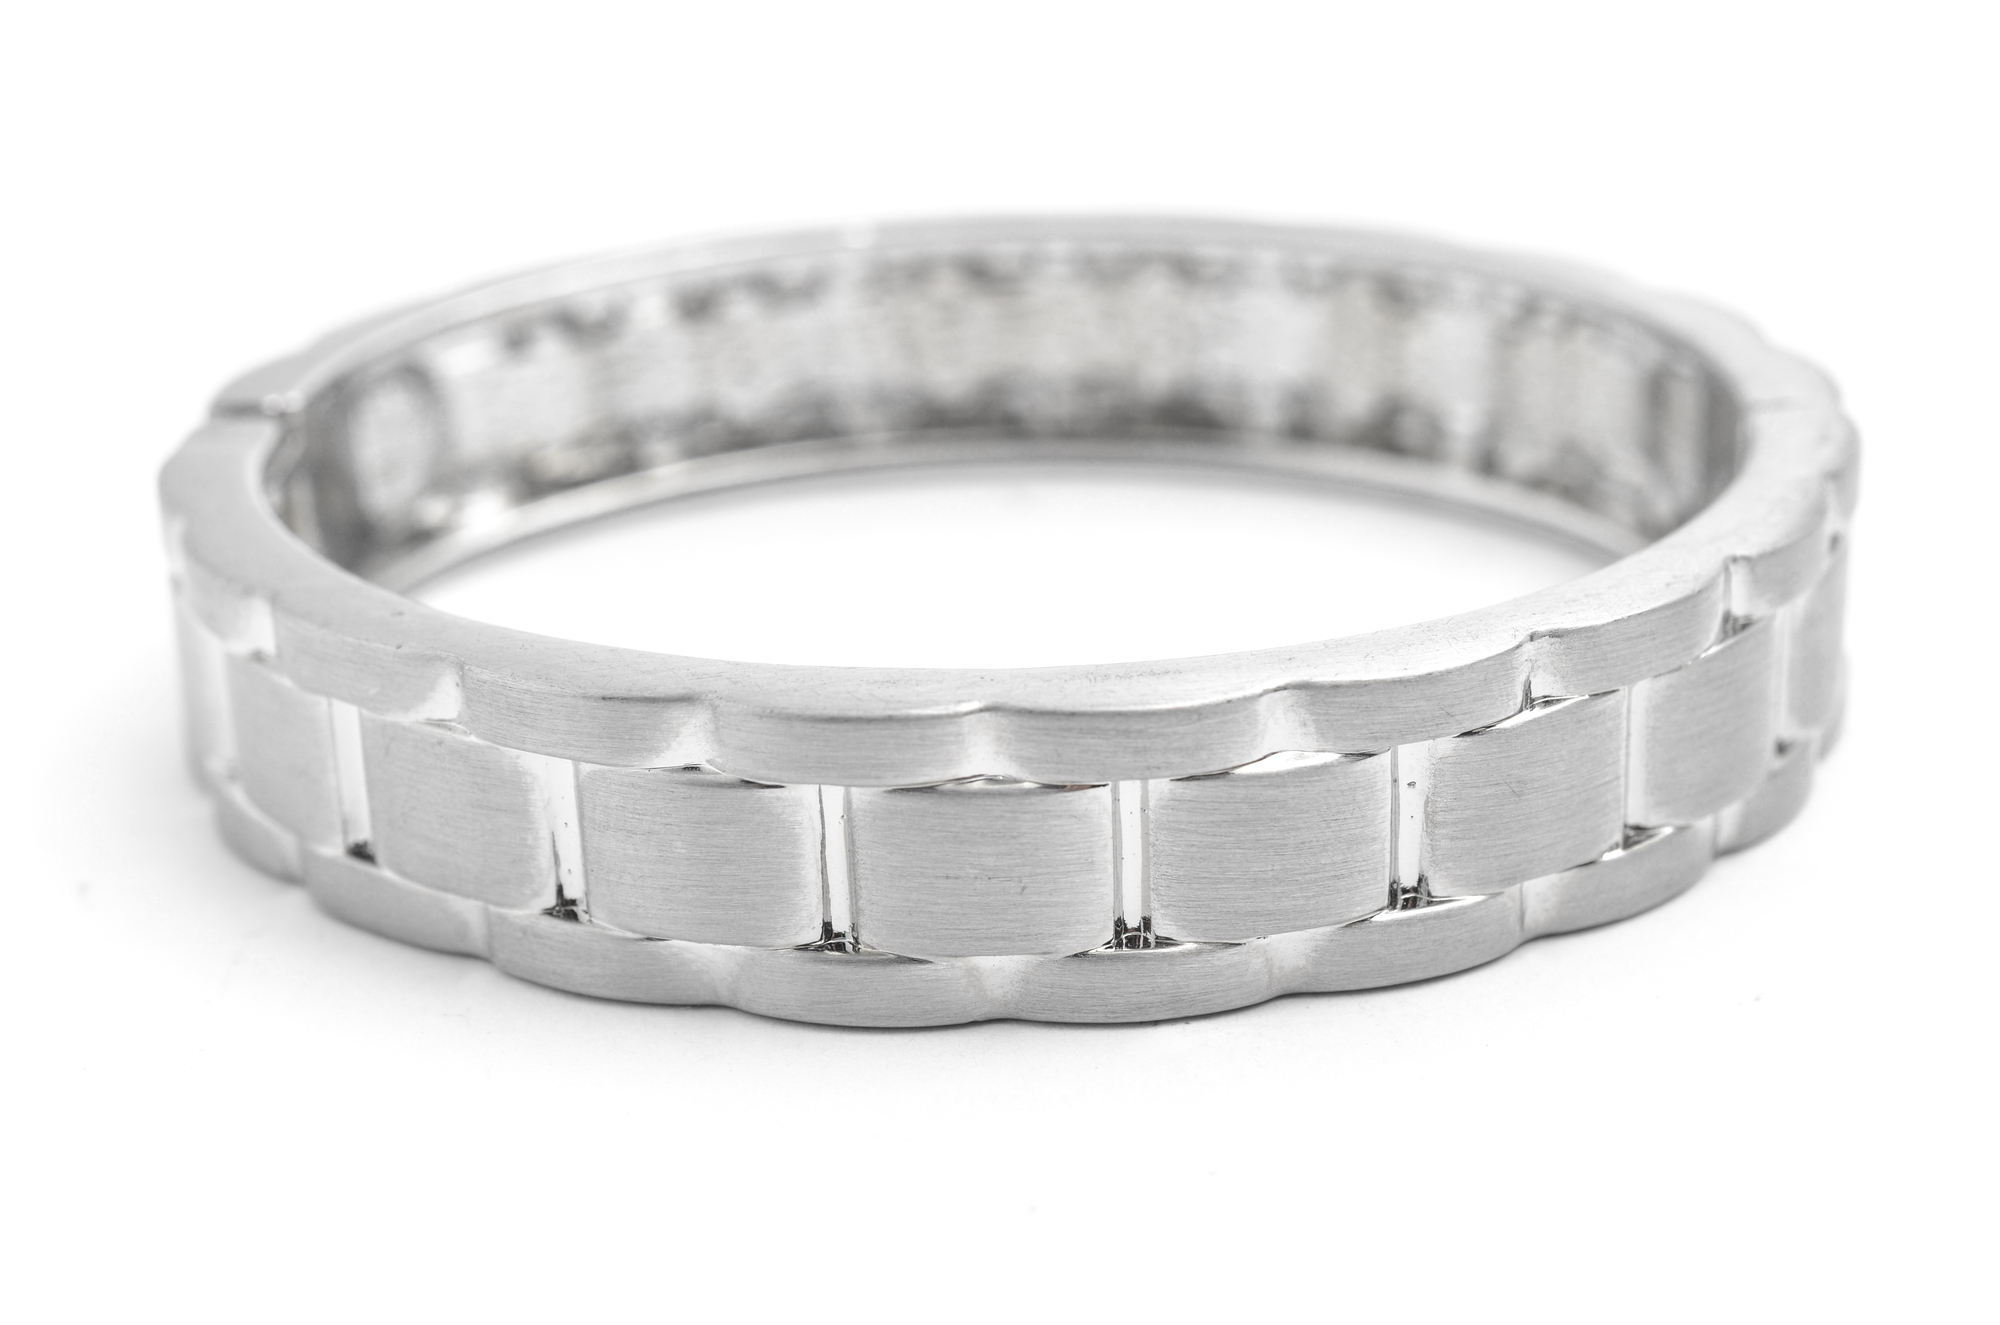
Learn how to make silver bracelets using techniques, tips, and inspiration to create stunning sterling silver bracelets from scratch.
Read More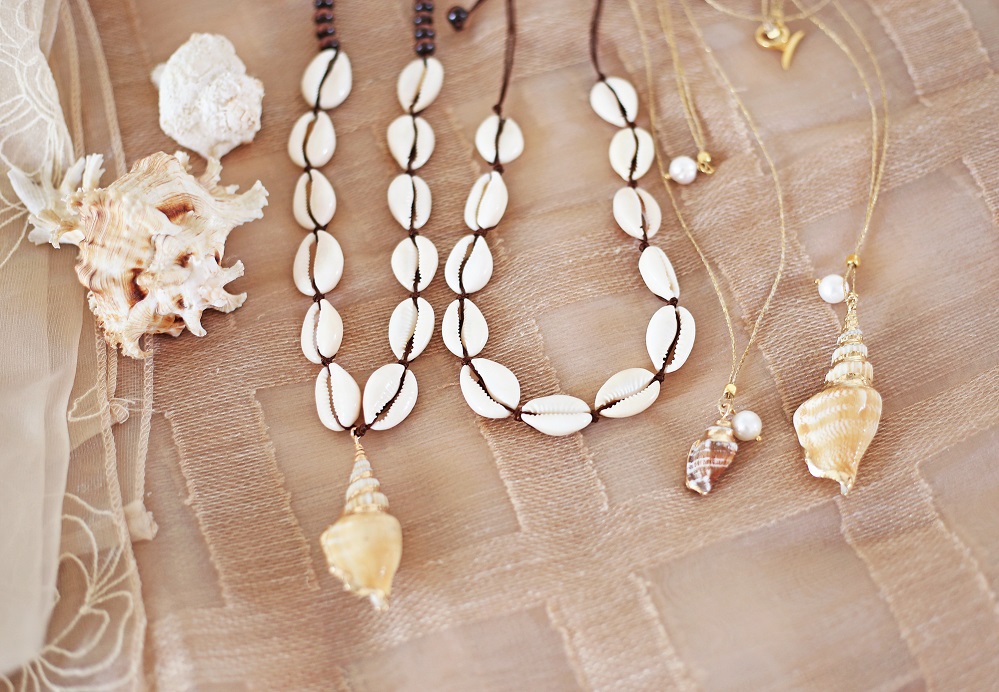
Learn how to make a cowrie shell bracelet with step-by-step instructions and expert tips for crafting elegance with this timeless accessory.
Read More
Sleeper earrings are especially recommended for newbies. But have you ever asked why? In today’s topic, I’ll provide you the answer.
Read More
Are you trying to score a discount online for a Louis Vuitton item? You won’t find one. This brand never holds sales and is just downright expensive! Read more to know why this luxurious brand is very costly.
Read More