


In a world where self-expression reigns supreme, what better way to showcase your individuality than through handmade accessories? Pony bead bracelets offer a canvas for creativity, allowing you to blend colors, patterns, and textures to reflect your unique personality. But how to make pony bead bracelets and let your style shine through? In this blog, we’ll walk you through everything you need to know about how to make a bracelet with pony beads. With a few simple steps and a dash of imagination, you can craft bracelets that not only adorn your wrist but also make a bold statement. Dive in now!
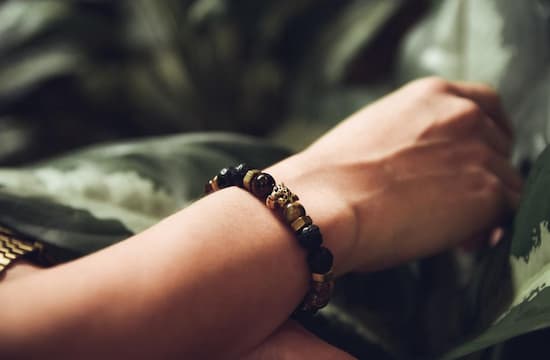
Pony bead bracelets, in a nutshell, are handmade bracelets crafted from small, cylindrical plastic beads called pony beads.
Pony beads come in an array of colors, sizes, and finishes. They are typically strung onto elastic cords or threads in various patterns, allowing for an endless array of customization options. The pony bead bracelets thus made are not only meant to accessorize any outfit but also outlets for self-expression.
Since pony bead bracelets are easy to craft, they make for popular DIY projects. With a few simple steps, you can make simple yet aesthetic pony bead bracelets that elevate your style to new dimensions.
Creating stunning pony bead bracelets requires the right materials at your fingertips. Here's what you'll need for how to make plastic bead bracelets:
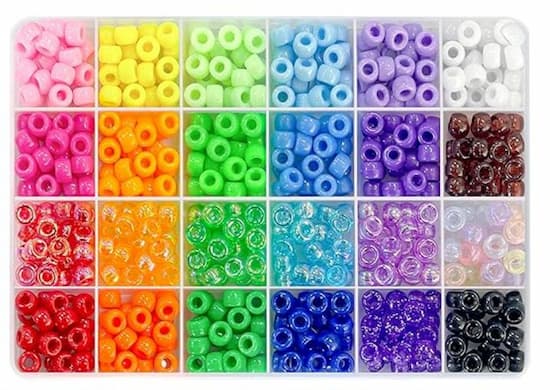
Pony Beads: Pony beads are the heart and soul of your bracelet creations. Choose from vibrant hues, metallics, translucents, and more to craft bracelets that reflect your unique style.
String: Selecting the appropriate string is crucial for ensuring the durability and flexibility of your bracelets. Elastic cords or nylon threads are popular choices.
Scissors: Scissors are for cutting cords. Choose a pair of sharp scissors for neat cutting.
Jewelry Glue: A dab of jewelry glue can help strengthen the knot and make it almost impossible to come undone.
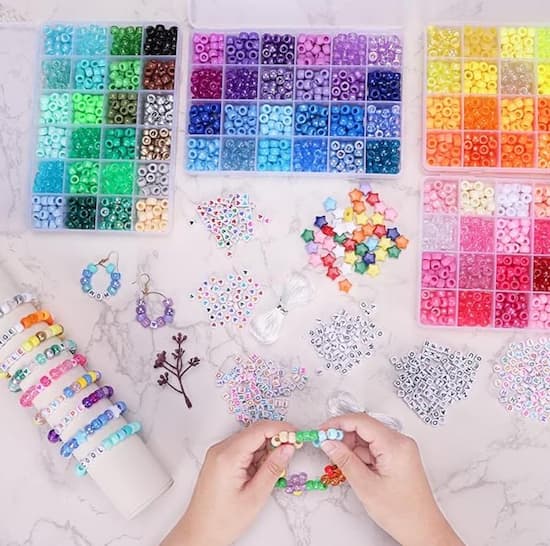
Crafting your own pony bead bracelets is a fun and rewarding activity that allows you to express your creativity. Follow these simple steps of how to make a pony bead bracelet to create beautiful bracelets.
Before diving into your bracelet-making journey with our pony bead bracelet instructions, set up a clean and well-lit workspace. Gather your materials, including pony beads, string, and tools, and ensure you have enough room to work comfortably.
Determine the desired length of your bracelet by measuring your wrist or referring to a standard bracelet size guide (completed bracelets are typically 7 inches long). Then, add at least 6 inches to accommodate for tying knots. Mark the point where the string is supposed to be cut off, and use scissors to cut the string to the appropriate length.
Plan your bracelet's design by laying out the pony beads in the desired pattern or sequence. Experiment with colors, shapes, and arrangements until you achieve the look you desire. This step allows you to visualize the final result and make any adjustments before stringing the beads.
Once you are satisfied with your planned bead pattern, it is time to string the pony beads onto the string.
Before stringing, it is recommended to hold both ends of the string and tug it a few times. This can prepare the string for the upcoming threading task by reducing its chance of snapping.
After stretching the cord, thread the beads one by one as per your chosen pattern. Take your time and work methodically to prevent beads from slipping off or becoming tangled.
Once you have all the beads neatly threaded onto the beading cord, it is time to secure them with a knot.
How to tie pony bead bracelets? Typically, you have a lot of options when it comes to the knot type. For now, we use a surgeon’s knot for the sake of added security. The process of tying a surgeon’s knot is described as follows:
Form the first overhand knot: Place the left side cord on top of the right side cord, and then swing it under the right side cord twice.
Form the second overhand knot: Place the right side cord on top of the left side cord, and swing it under the left side cord once.
Pull the knot tight: Pull the threads tight until the loop formed by the top and bottom layers of twists closes.
When tying the knot, make sure that the knot is tight enough that there are no gaps between the beads, but not so tight that the beads are squeezed together.
With the knot completed, carefully trim any excess cord near the knots using scissors. Leave a small tail to prevent the knots from unraveling. If desired, dab a drop of jewelry glue onto the knots for added security.
Lastly, inspect your new creation closely for any imperfections. Run your fingers along the bracelet, checking for any loose beads or uneven tension. If everything looks perfect, you can declare “mission complete” and congratulate yourself!
Your pony bead bracelet is a work of art that deserves proper care to maintain its beauty and longevity. Aside from the guide on how to make cool pony bead bracelets, we’ve also compiled some essential tips to ensure your bracelet remains in pristine condition:
While some beads may be waterproof, prolonged exposure to water can weaken the string and cause it to stretch or fray. Remove your bracelet before swimming, showering, or engaging in water-related activities to prevent damage.
When not in use, store your pony bead bracelet in a clean, dry place away from direct sunlight and heat sources. Consider using a jewelry box or pouch to protect it from dust and scratches.
Keep your bracelet looking its best by cleaning it regularly with a soft, damp cloth. Avoid harsh chemicals or abrasive cleaners, as they may damage the beads or discolor the string.
Over time, the string of your bracelet may become worn or stretched, increasing the risk of breakage. If you notice any signs of damage or weakening, consider restringing your bracelet to ensure its durability and structural integrity. Of course, you can take this chance to rearrange the beads for a different touch too.
As is demonstrated above, crafting DIY pony bead bracelets is a delightful and accessible endeavor. With just a few straightforward steps, you can master how to make pony bead bracelets and adorn your wrist with a personalized accessory that exudes charm and character. So wait no longer - prepare the necessary materials or invest in a comprehensive and easy-to-use QUEFE Pony Beads Set, follow our pony bead bracelet tutorial, and embark on your pony bead bracelet making journey today!
The time it takes to make a pony bead bracelet can vary depending on factors such as the complexity of the design, the skill level of the crafter, and the chosen technique. Generally, a simple pony bead bracelet with a basic pattern can be completed in as little as 15 to 30 minutes for beginners.
Pony bead bracelets can typically withstand light exposure to water, such as hand washing or light rain. However, prolonged or extensive exposure to water should be avoided as it can weaken the string and cause the beads to discolor or lose their shine.
Absolutely. Personalizing pony bead bracelets is one of the joys of crafting them. You can customize them in countless ways, from selecting bead colors and patterns to adding charms or initials. Let your imagination run wild as you design unique combinations that reflect your personality and style.
Check out our cute pony bead bracelet ideas & infuse your DIY craft with personal flair. Let your creativity flow by crafting simple pony bead bracelets.
Read More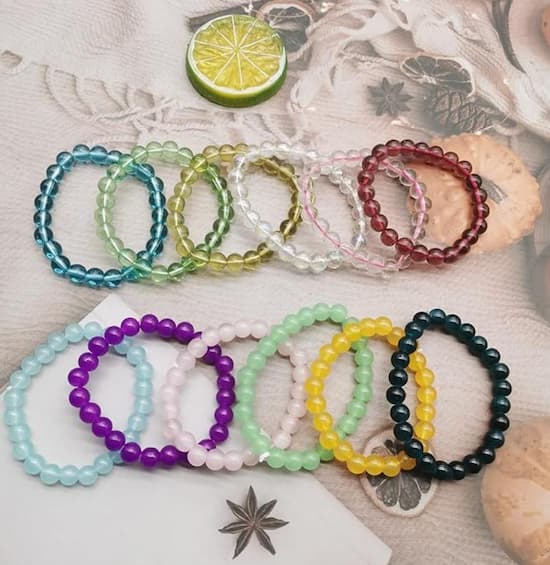
Master how to make stretch bead bracelets with detailed instructions and versatile tips. Impress your peers with simple and stylish DIY stretch bead bracelets.
Read More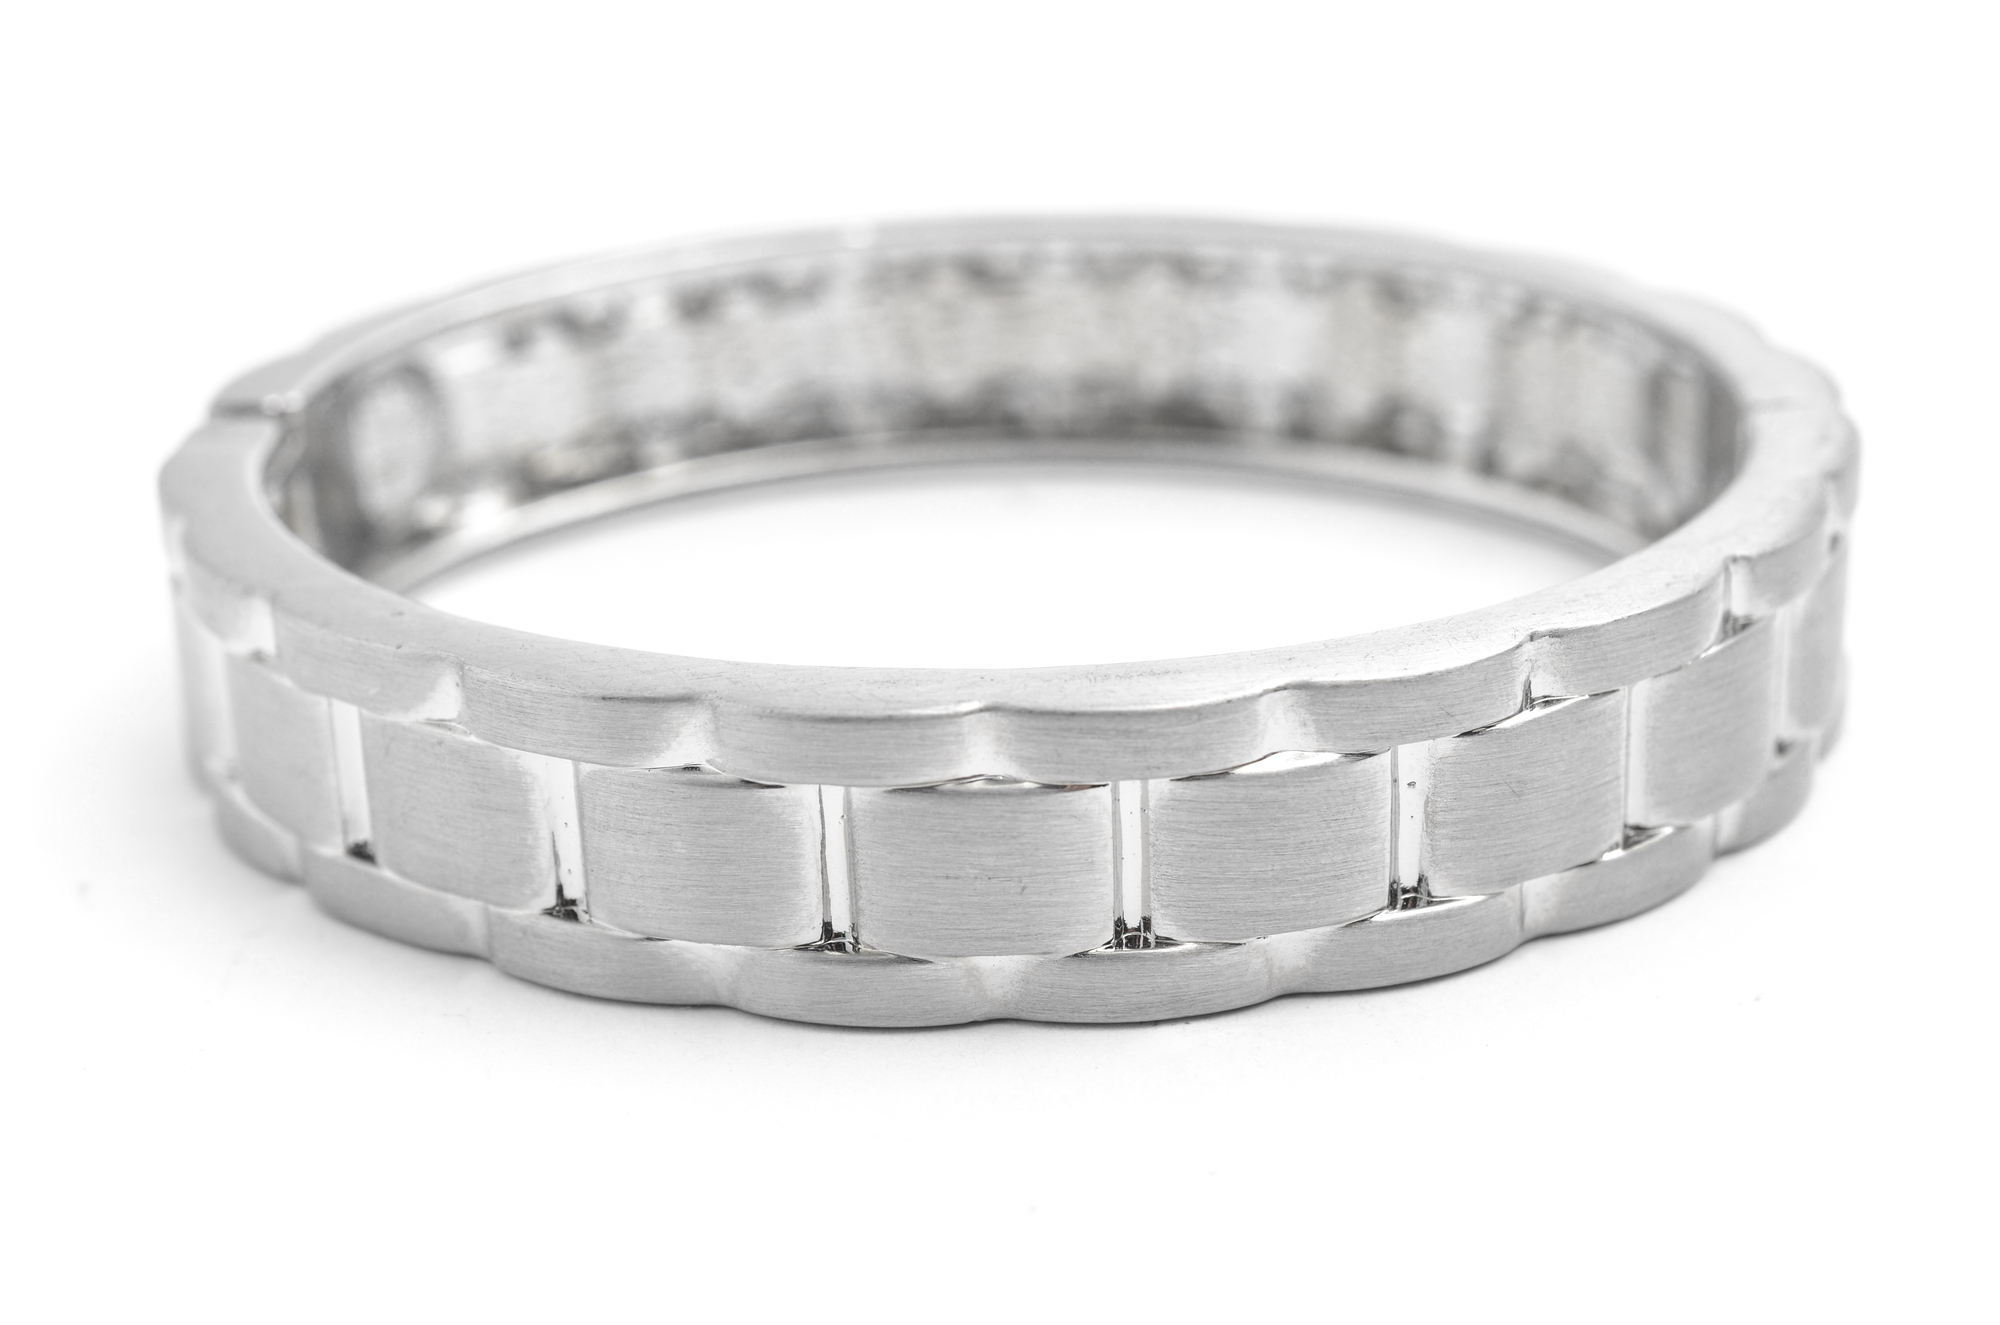
Learn how to make silver bracelets using techniques, tips, and inspiration to create stunning sterling silver bracelets from scratch.
Read More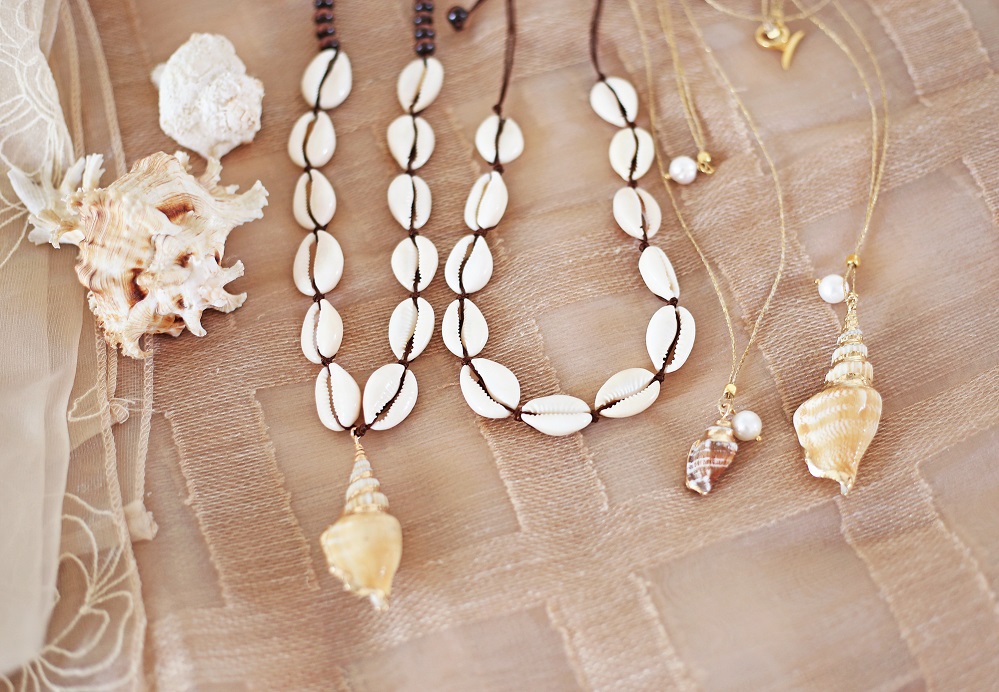
Learn how to make a cowrie shell bracelet with step-by-step instructions and expert tips for crafting elegance with this timeless accessory.
Read More